posted: 2024-11-24
Tao 4 Unit
Overview
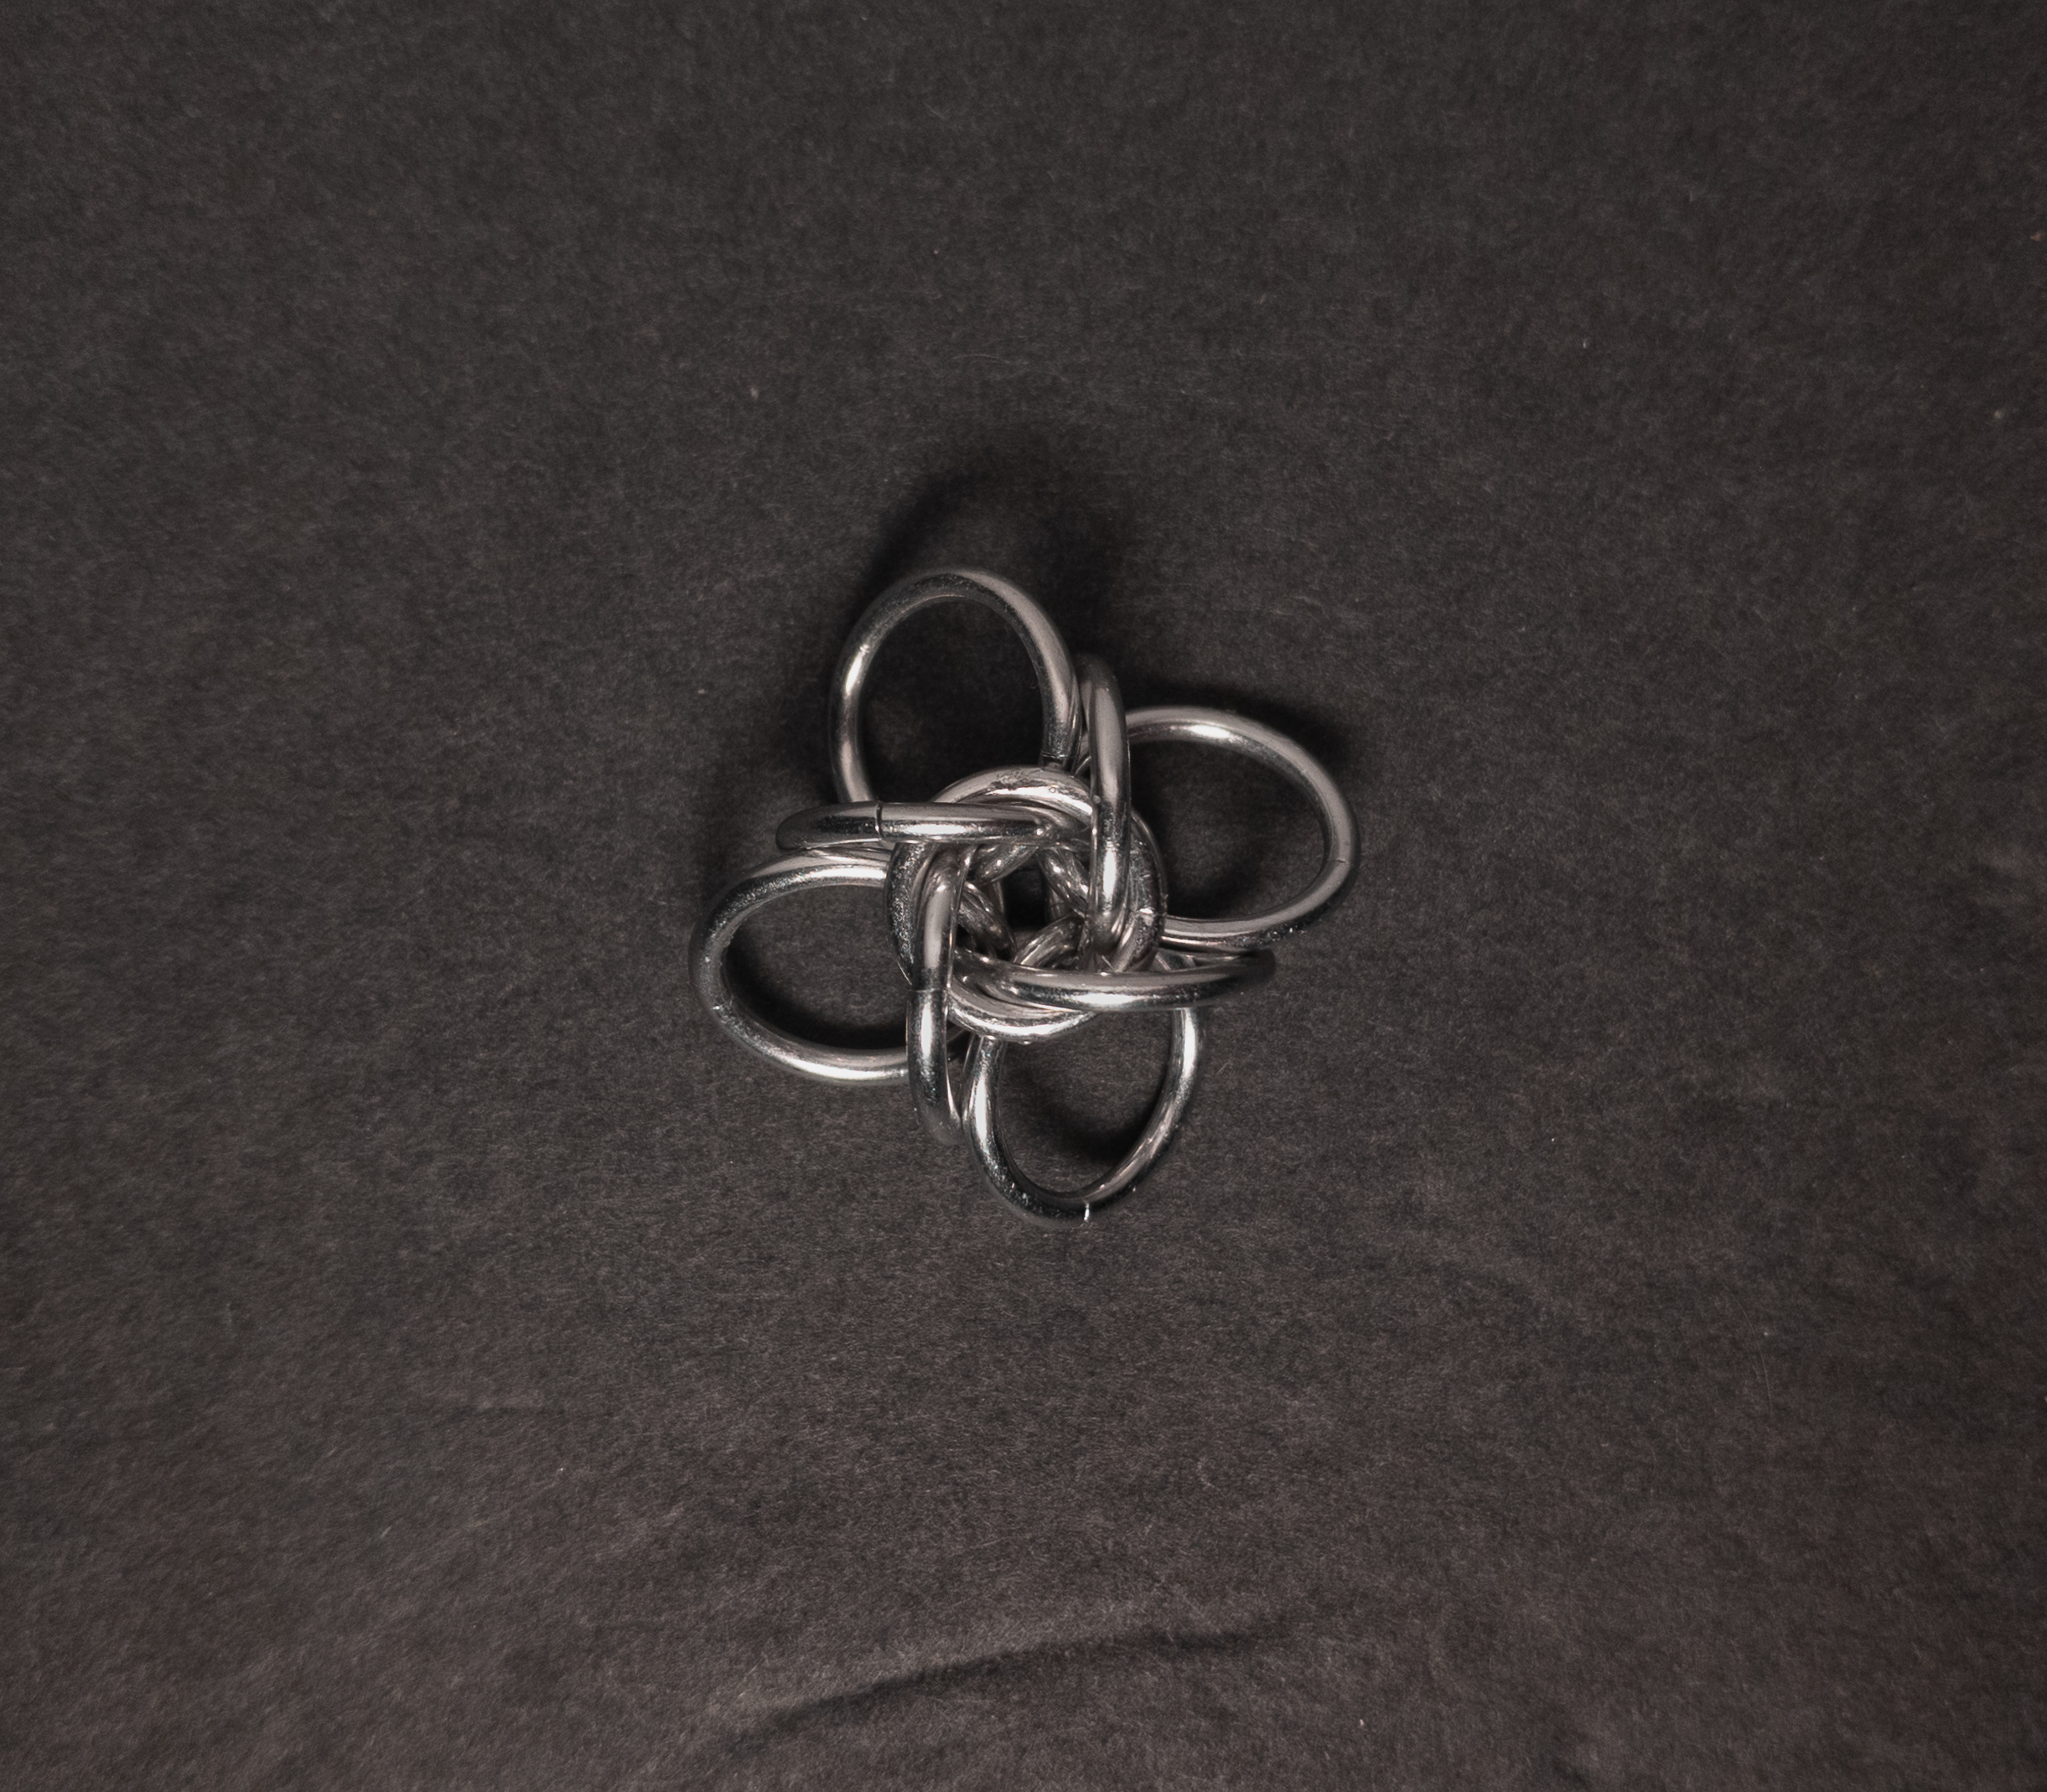
After creating a Tao 3 Unit, I became interested in its progression. I found this gallery submission on M.A.I.L. by Chainmailbasket_com, which features a unit with four vertical rings as an extension of Tao 3. While M.A.I.L. has an existing weave called Tao 4, I chose to follow the gallery image since it continues the Tao 3 progression, unlike the named weave. If you'd like to discuss this decision, feel free to join the conversation on this thread in the ChainMaillers forum. I've also included a tutorial below for anyone interested in making it, as I couldn't find any pre-existing guides.
Materials
For the sample piece showcased in this post, I used two sizes of rings made by hand(bonus post coming soon) from 16 SWG Bright Aluminum wire purchased from The Ring Lord. The smaller rings have an ID(Inner Diameter) of 7mm for an AR(Aspect Ratio) of 4.3. The larger rings have an ID of 10mm for an AR of 6.15.
Tutorial
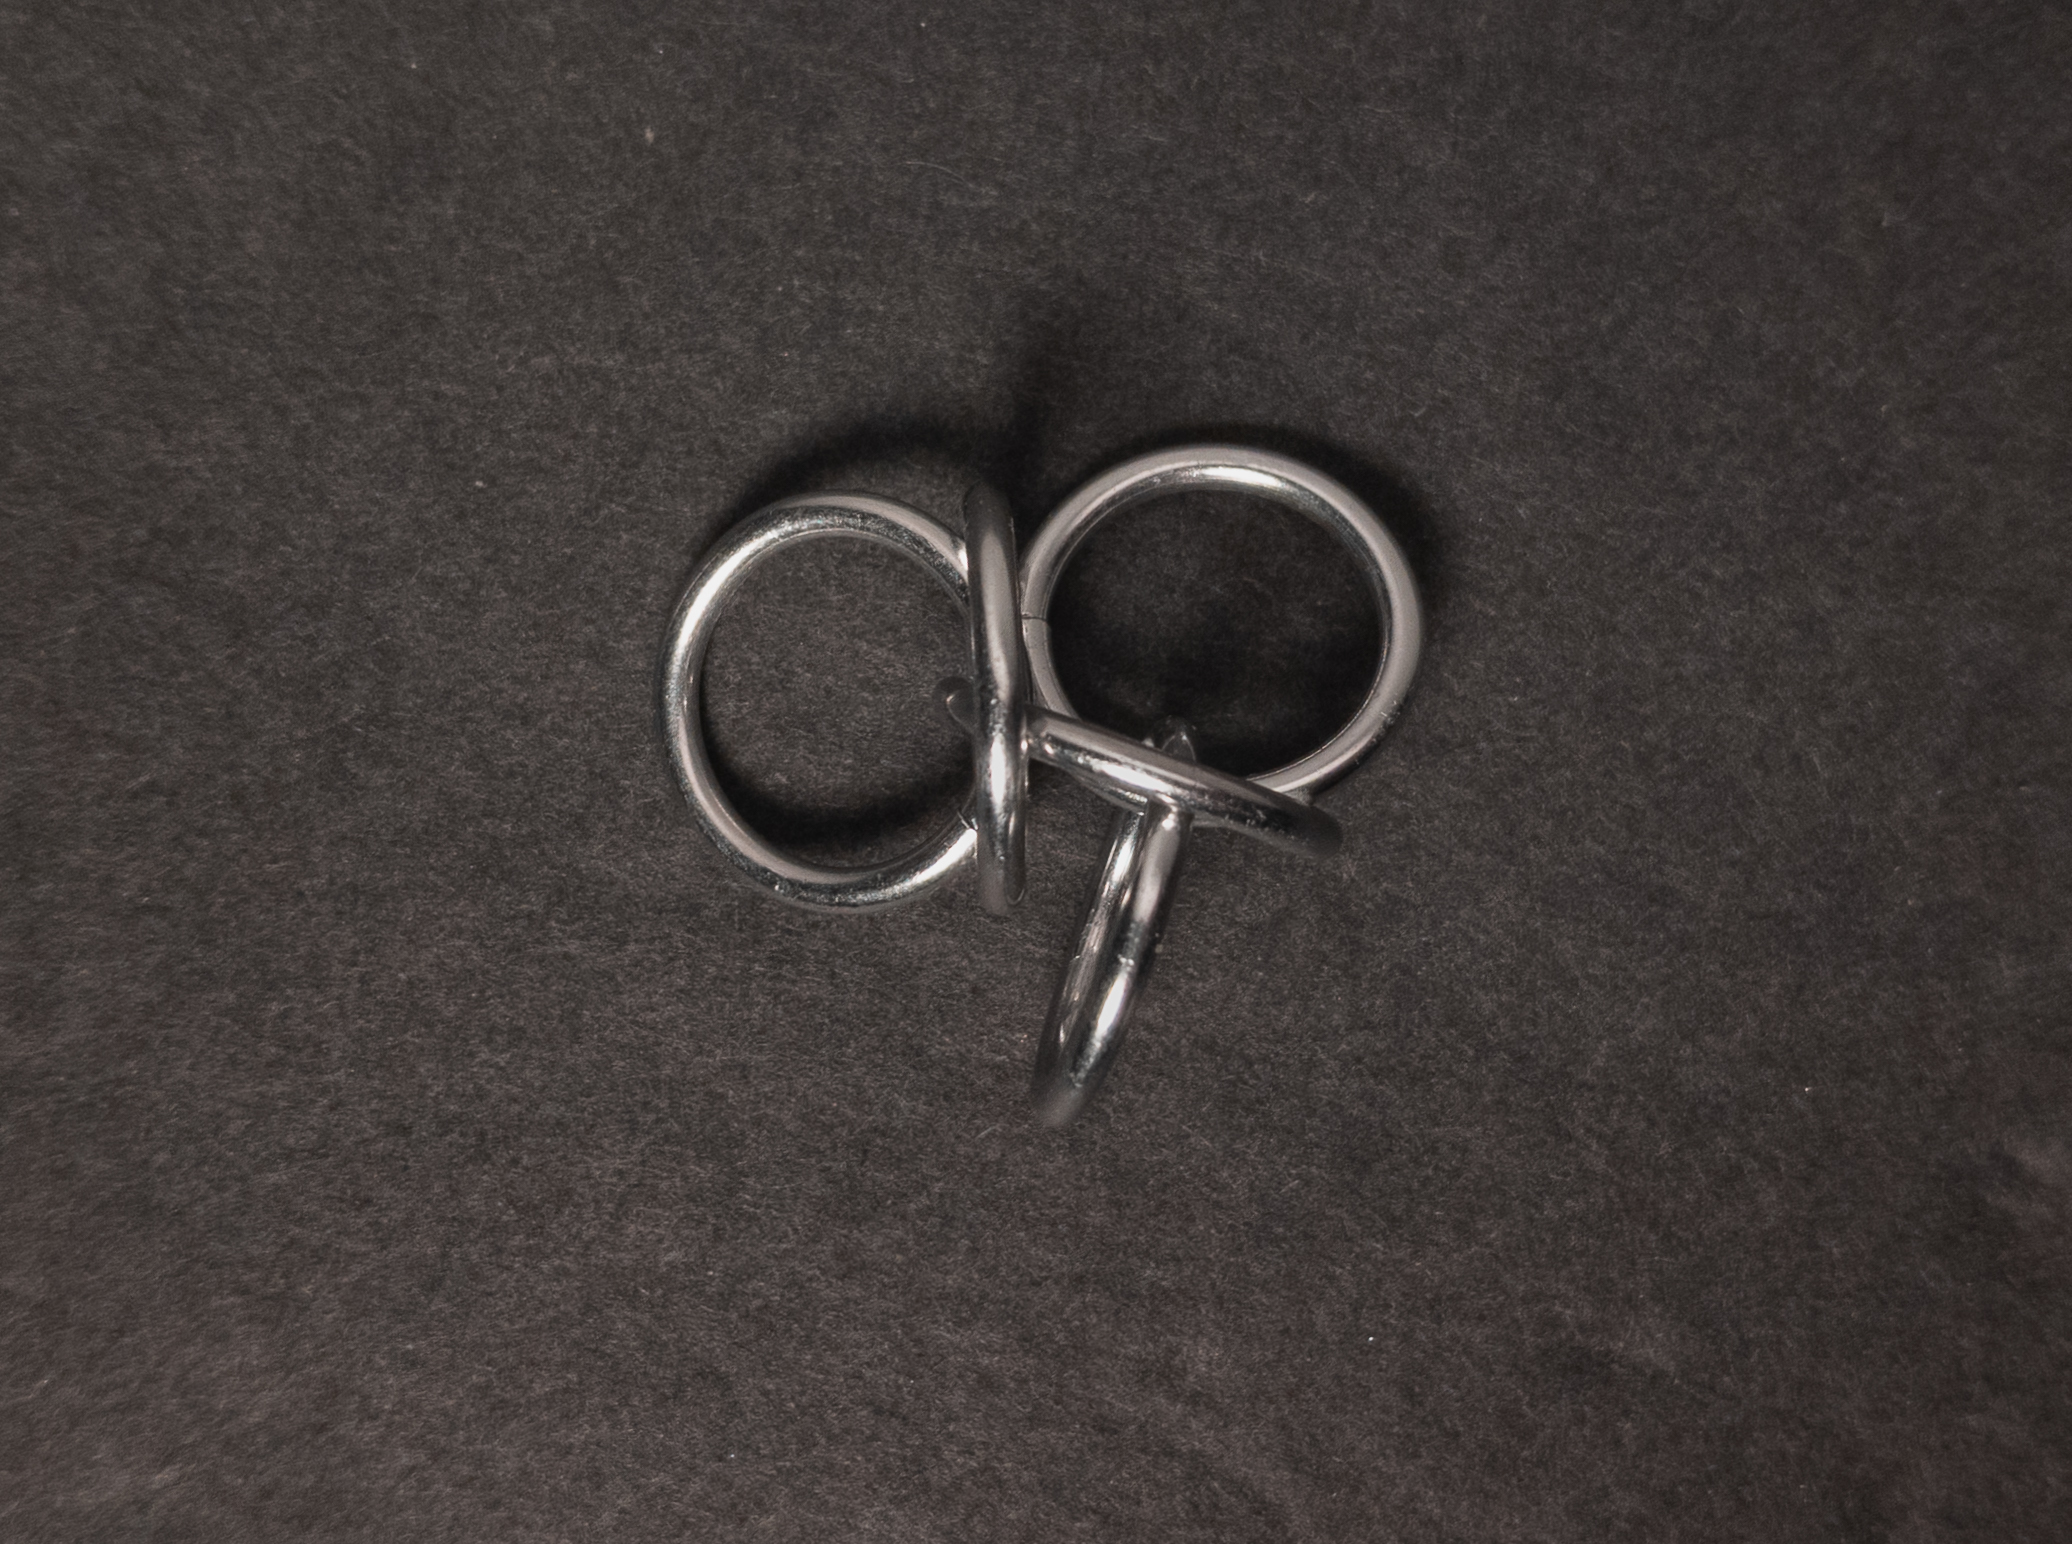
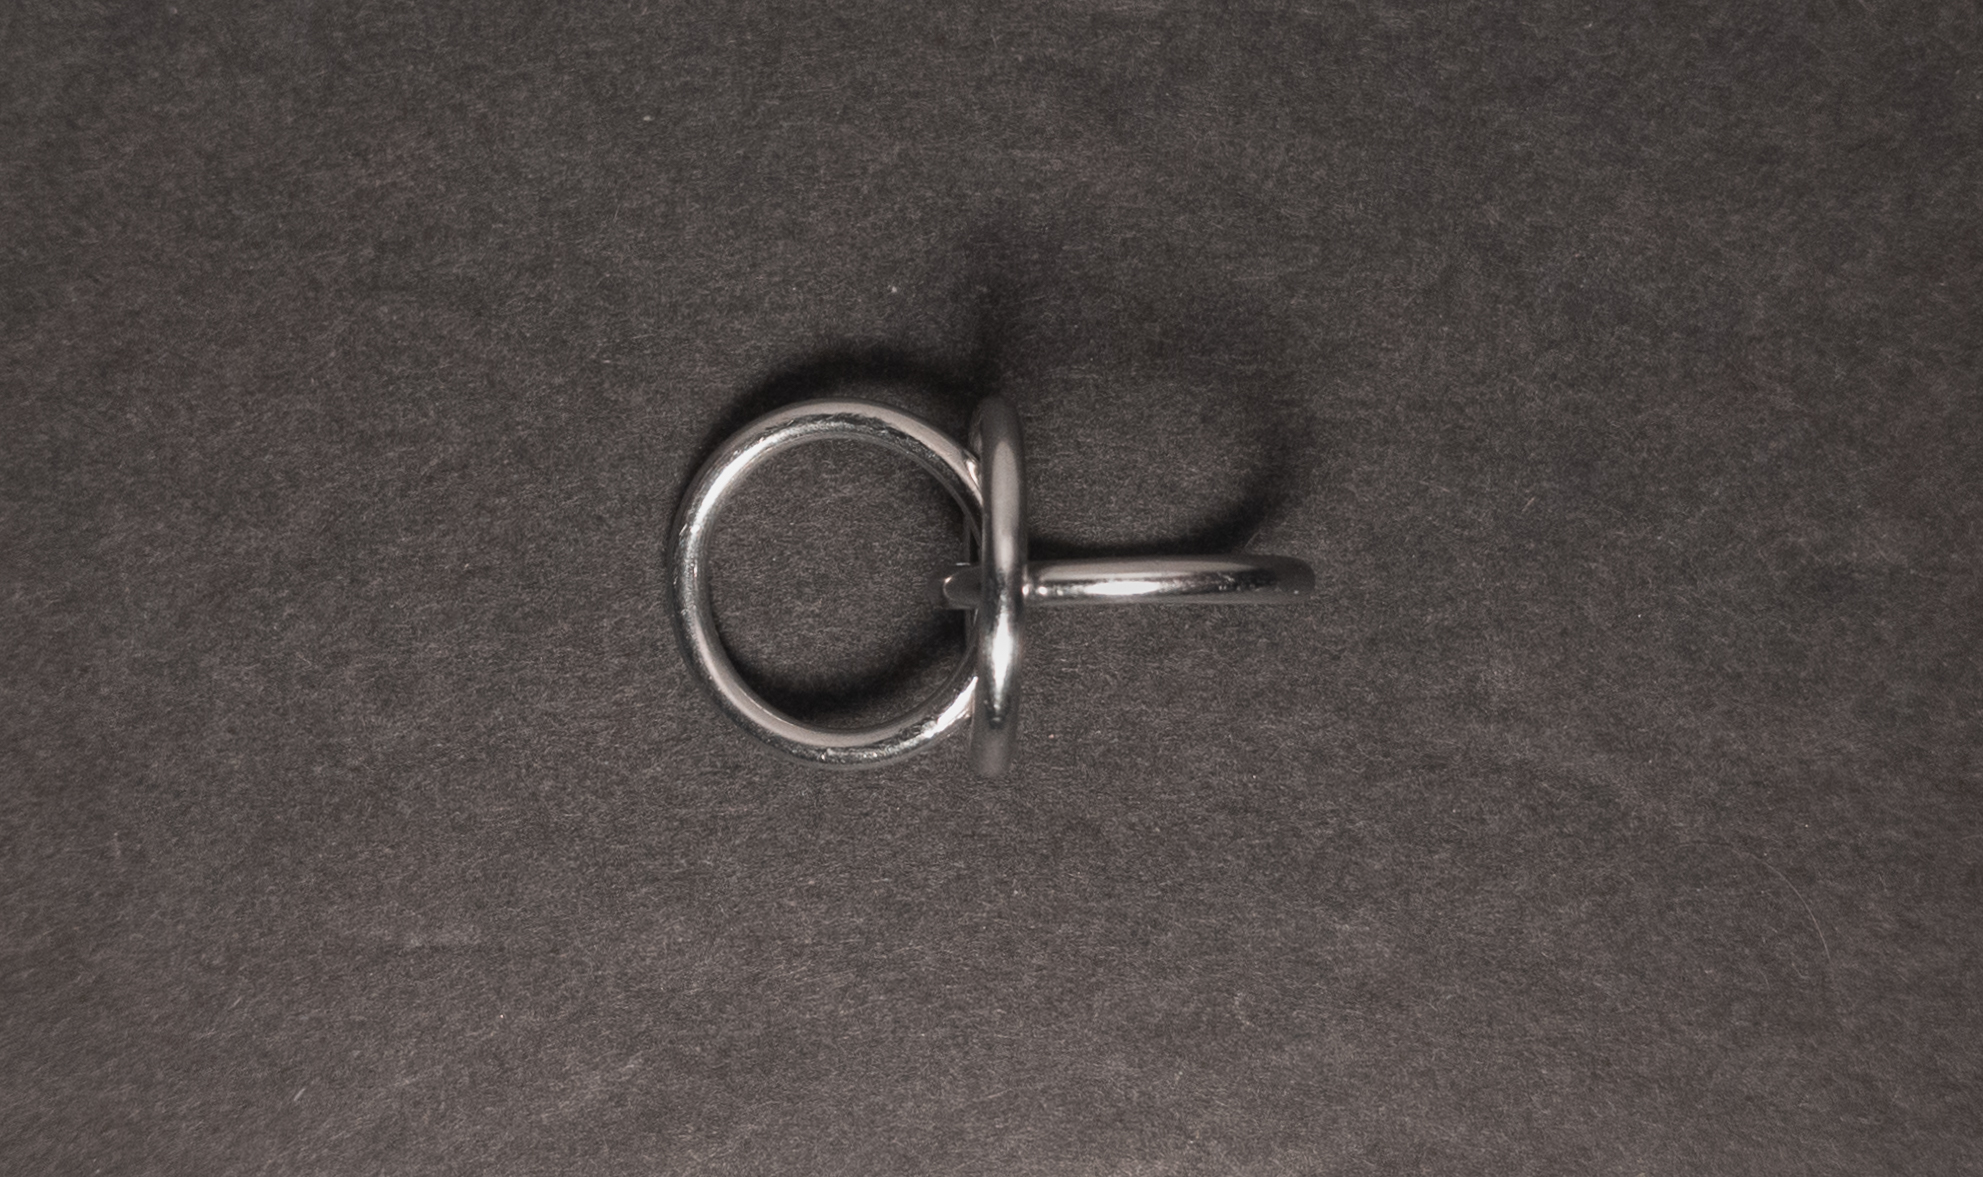
- Create an orbital unit from 3 large rings. When done, it should look something like this:
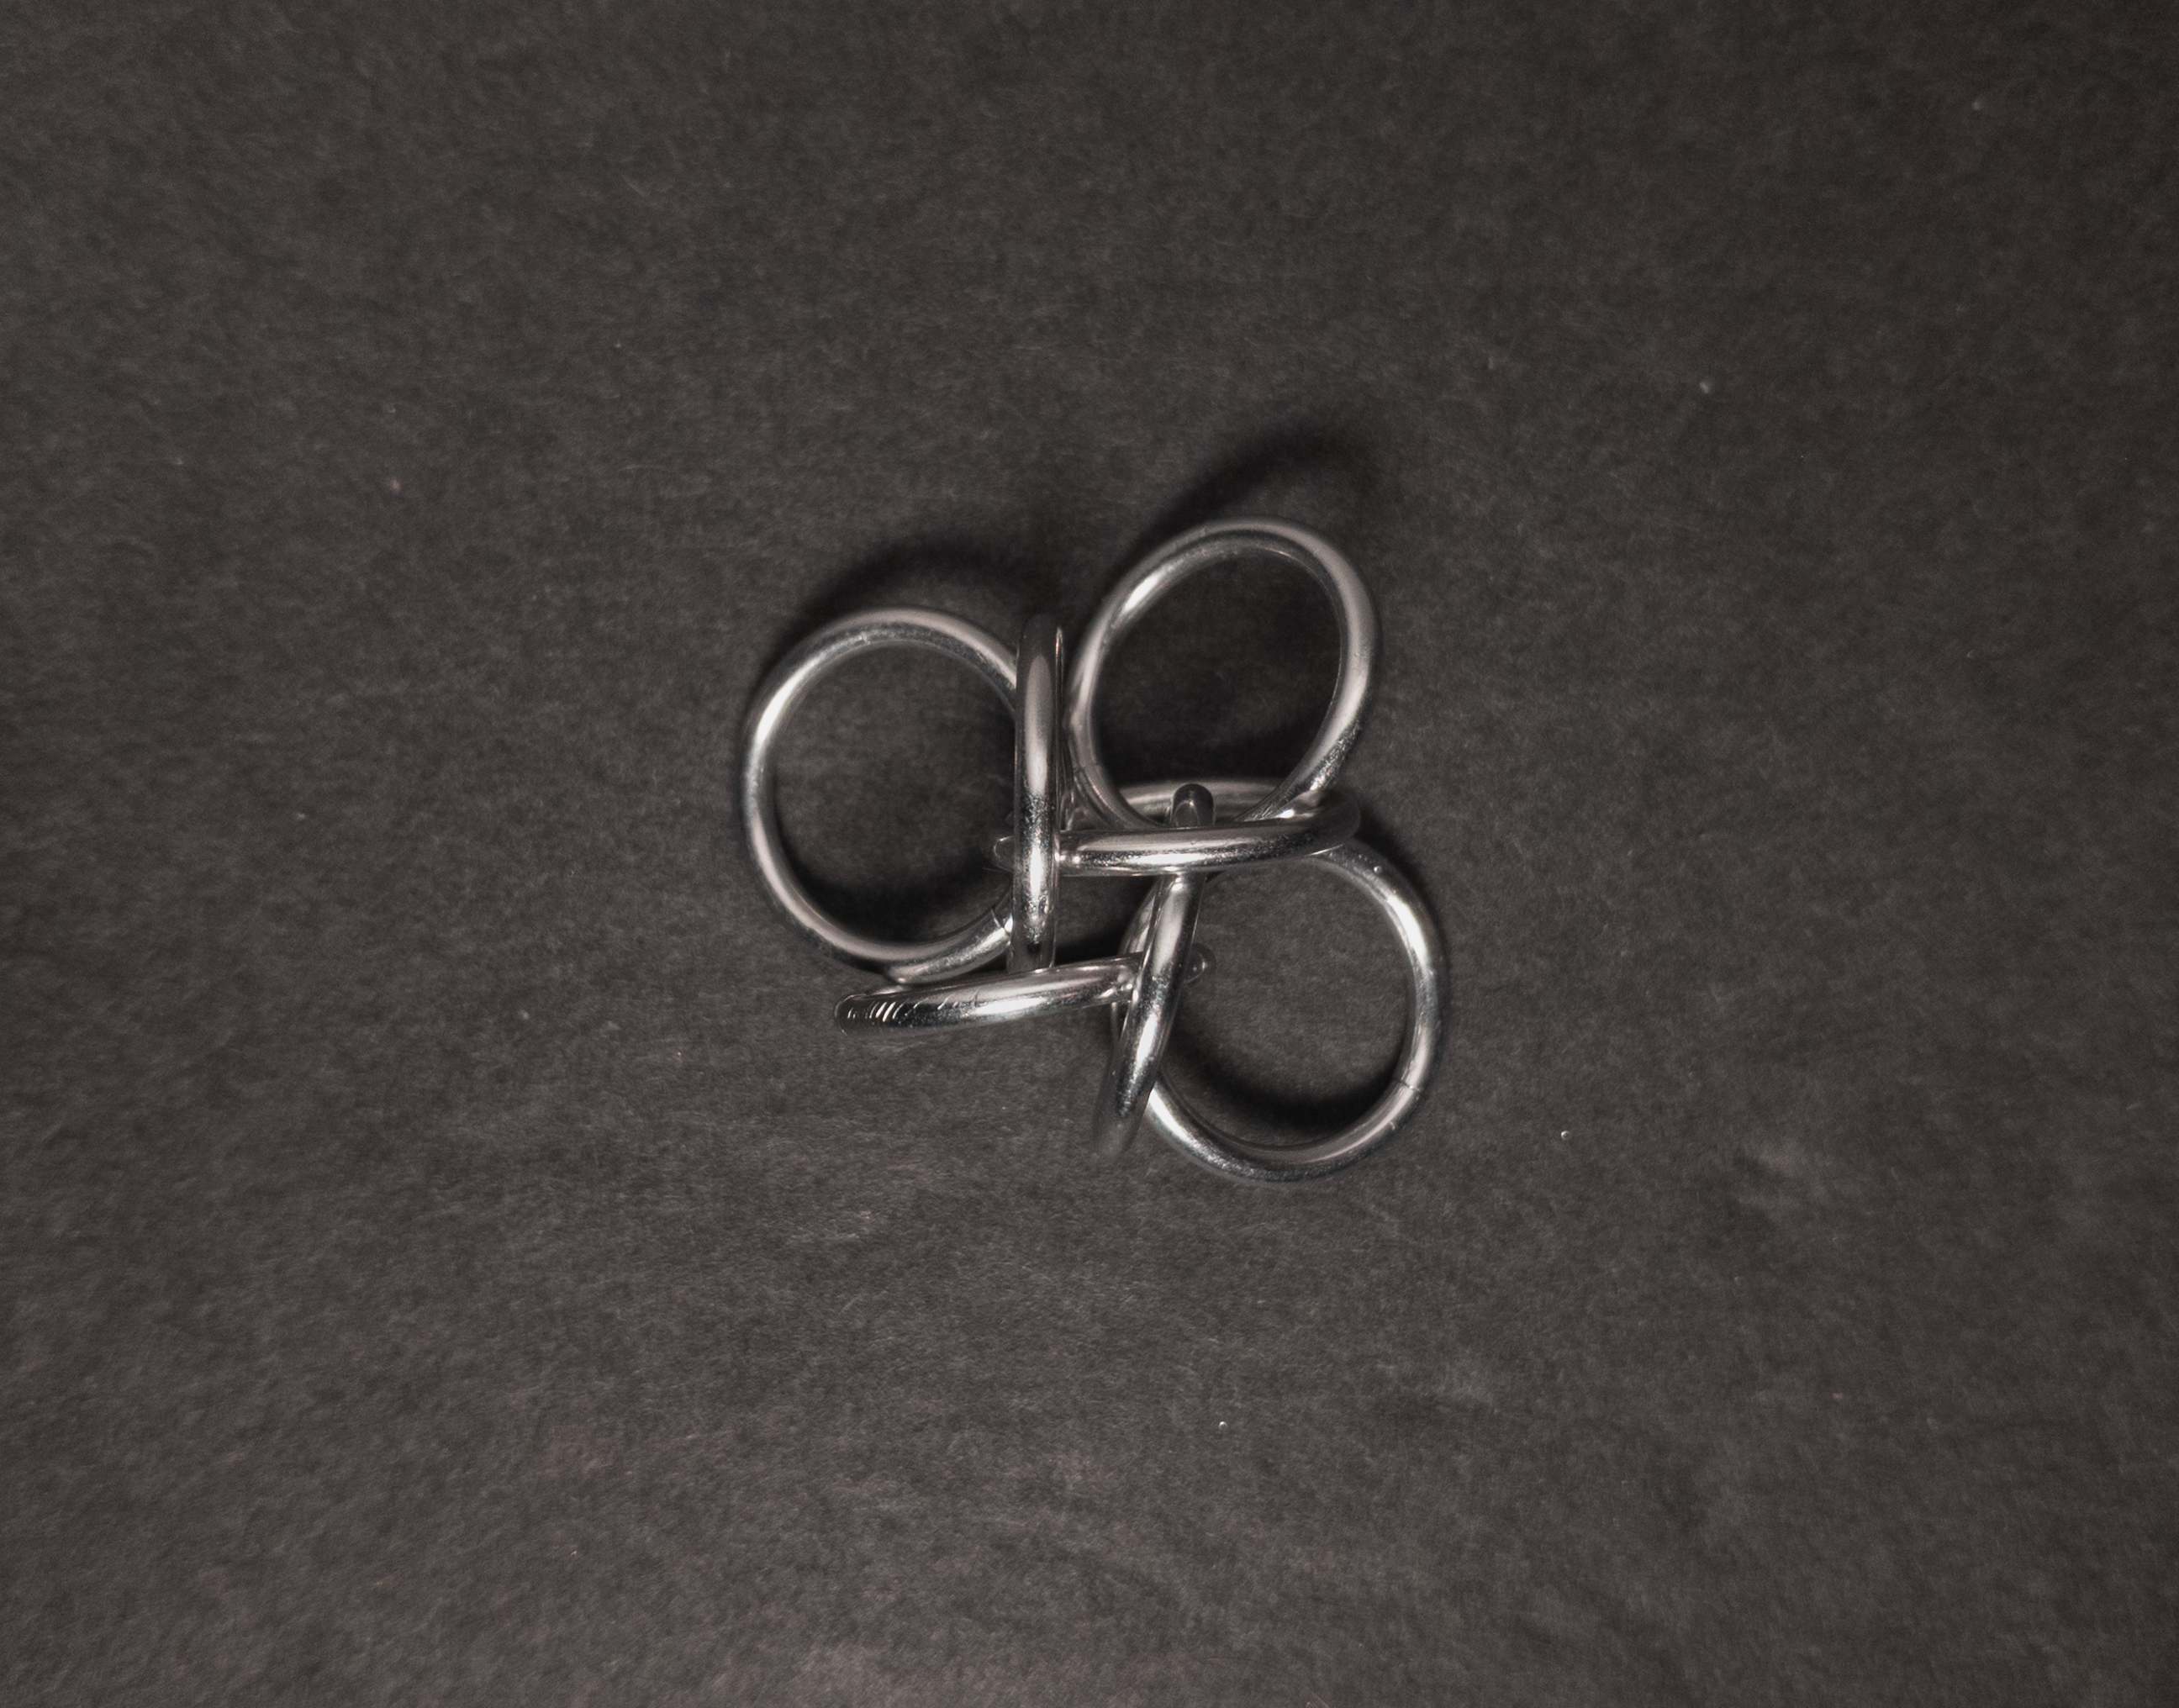
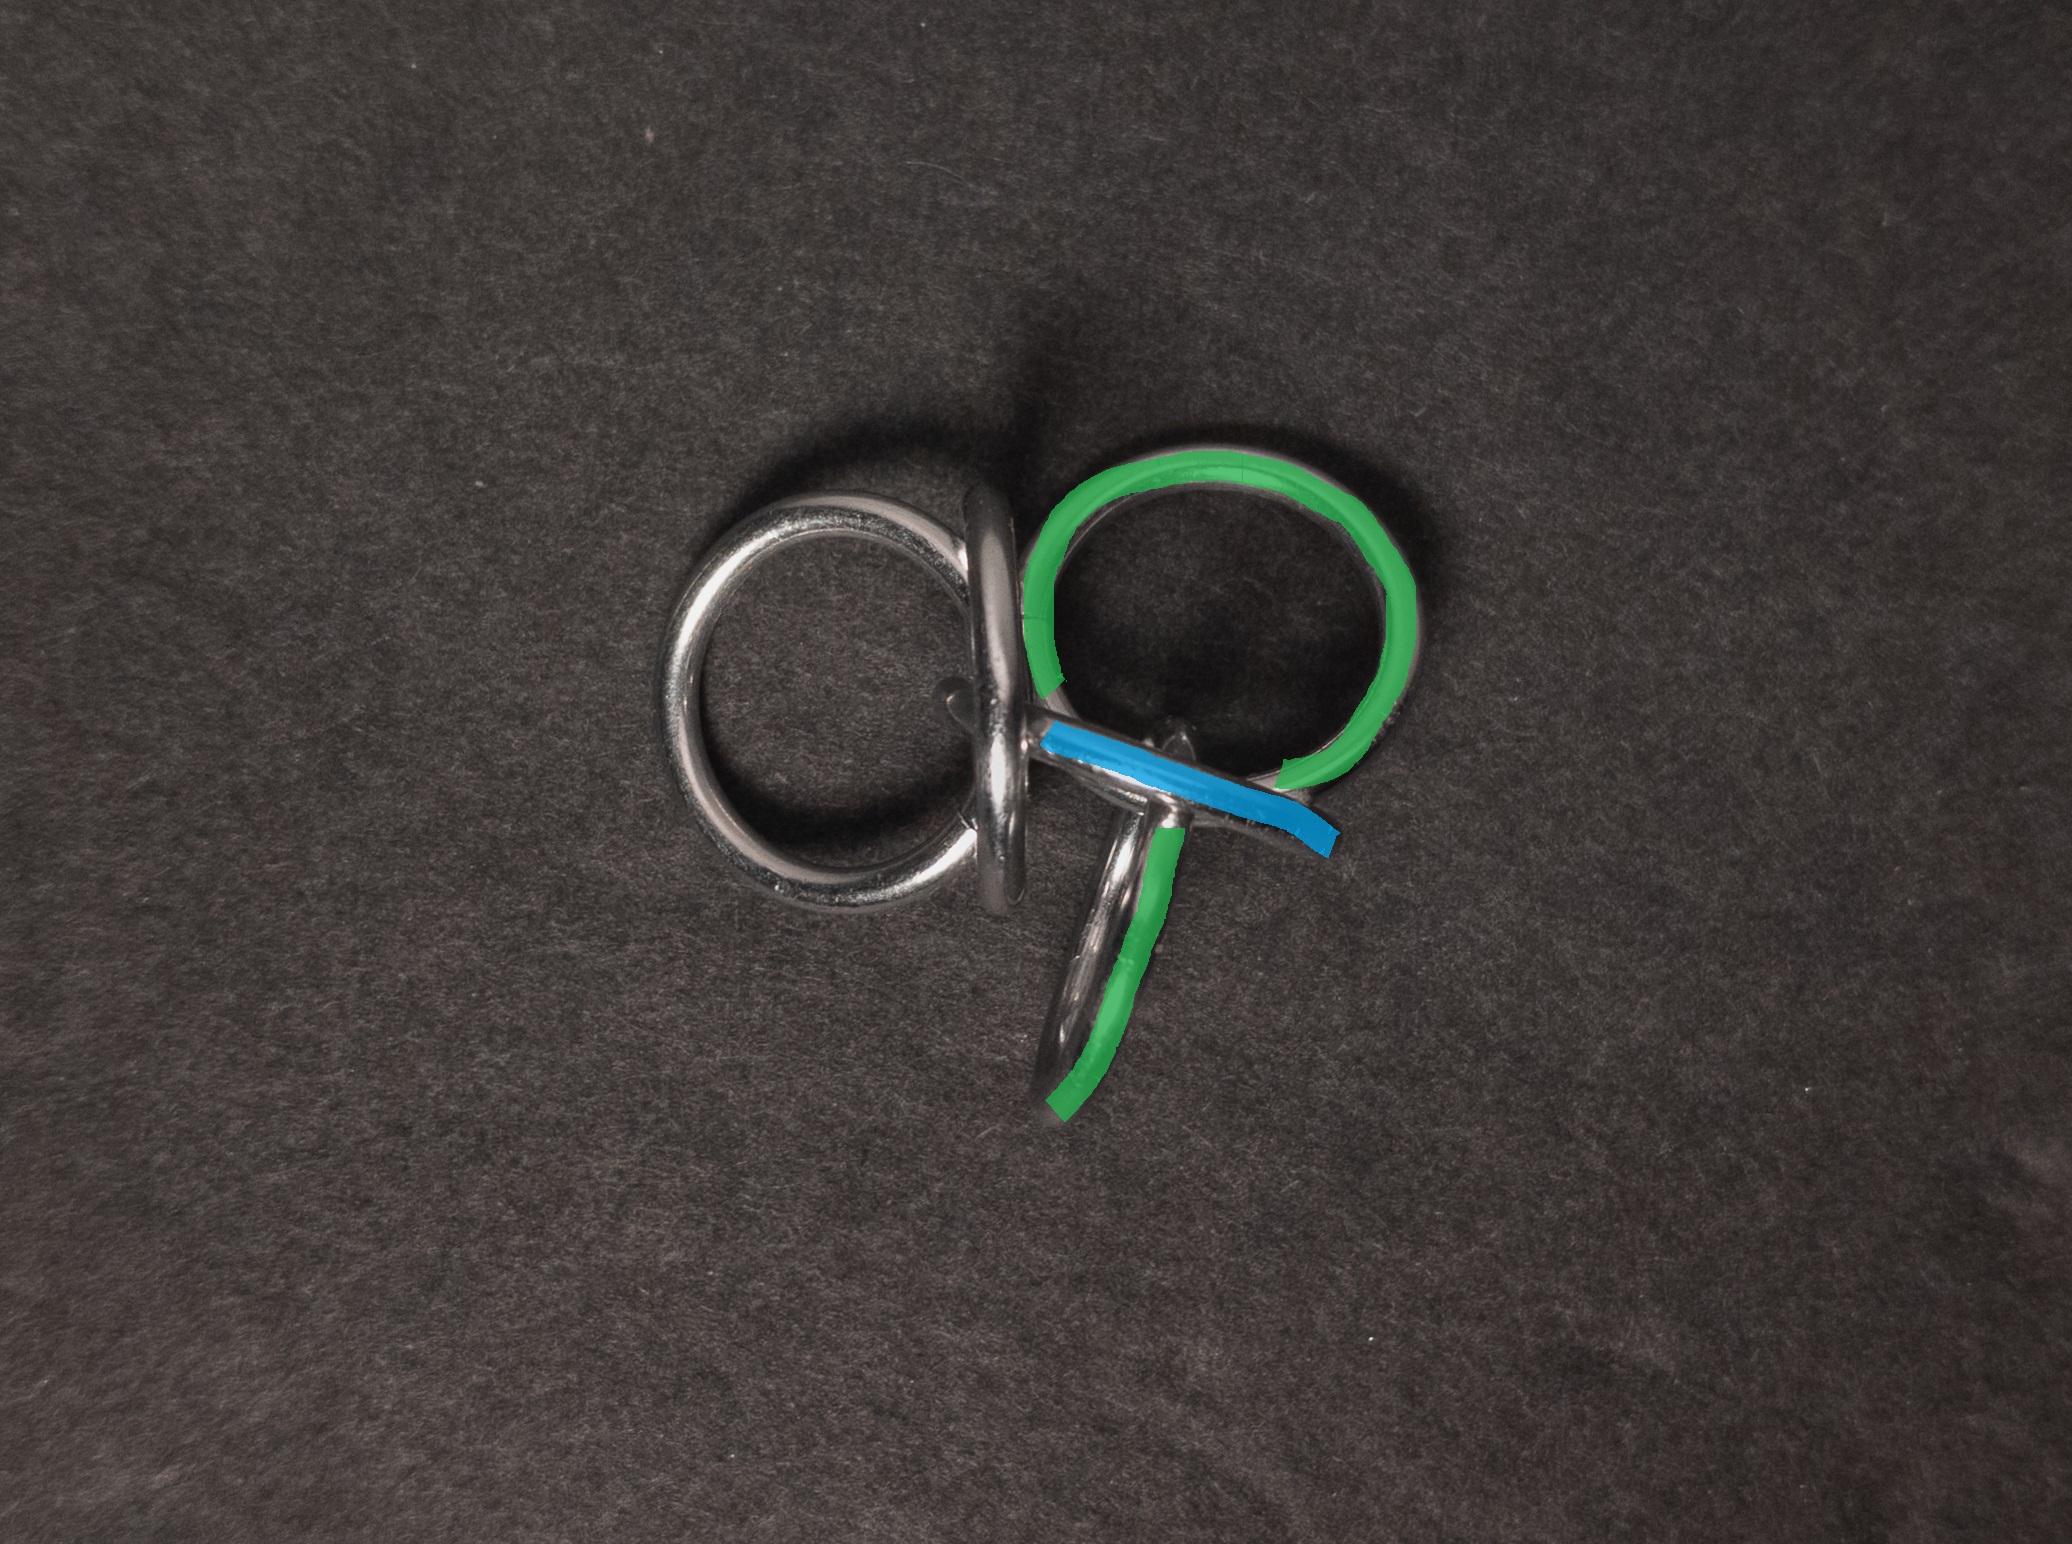
- Add 2 new large rings(green in the image below) to create another orbital unit using the vertical non-orbiting ring from the previous step(blue in the image below) as the orbiting ring. When done, it should look something like this:
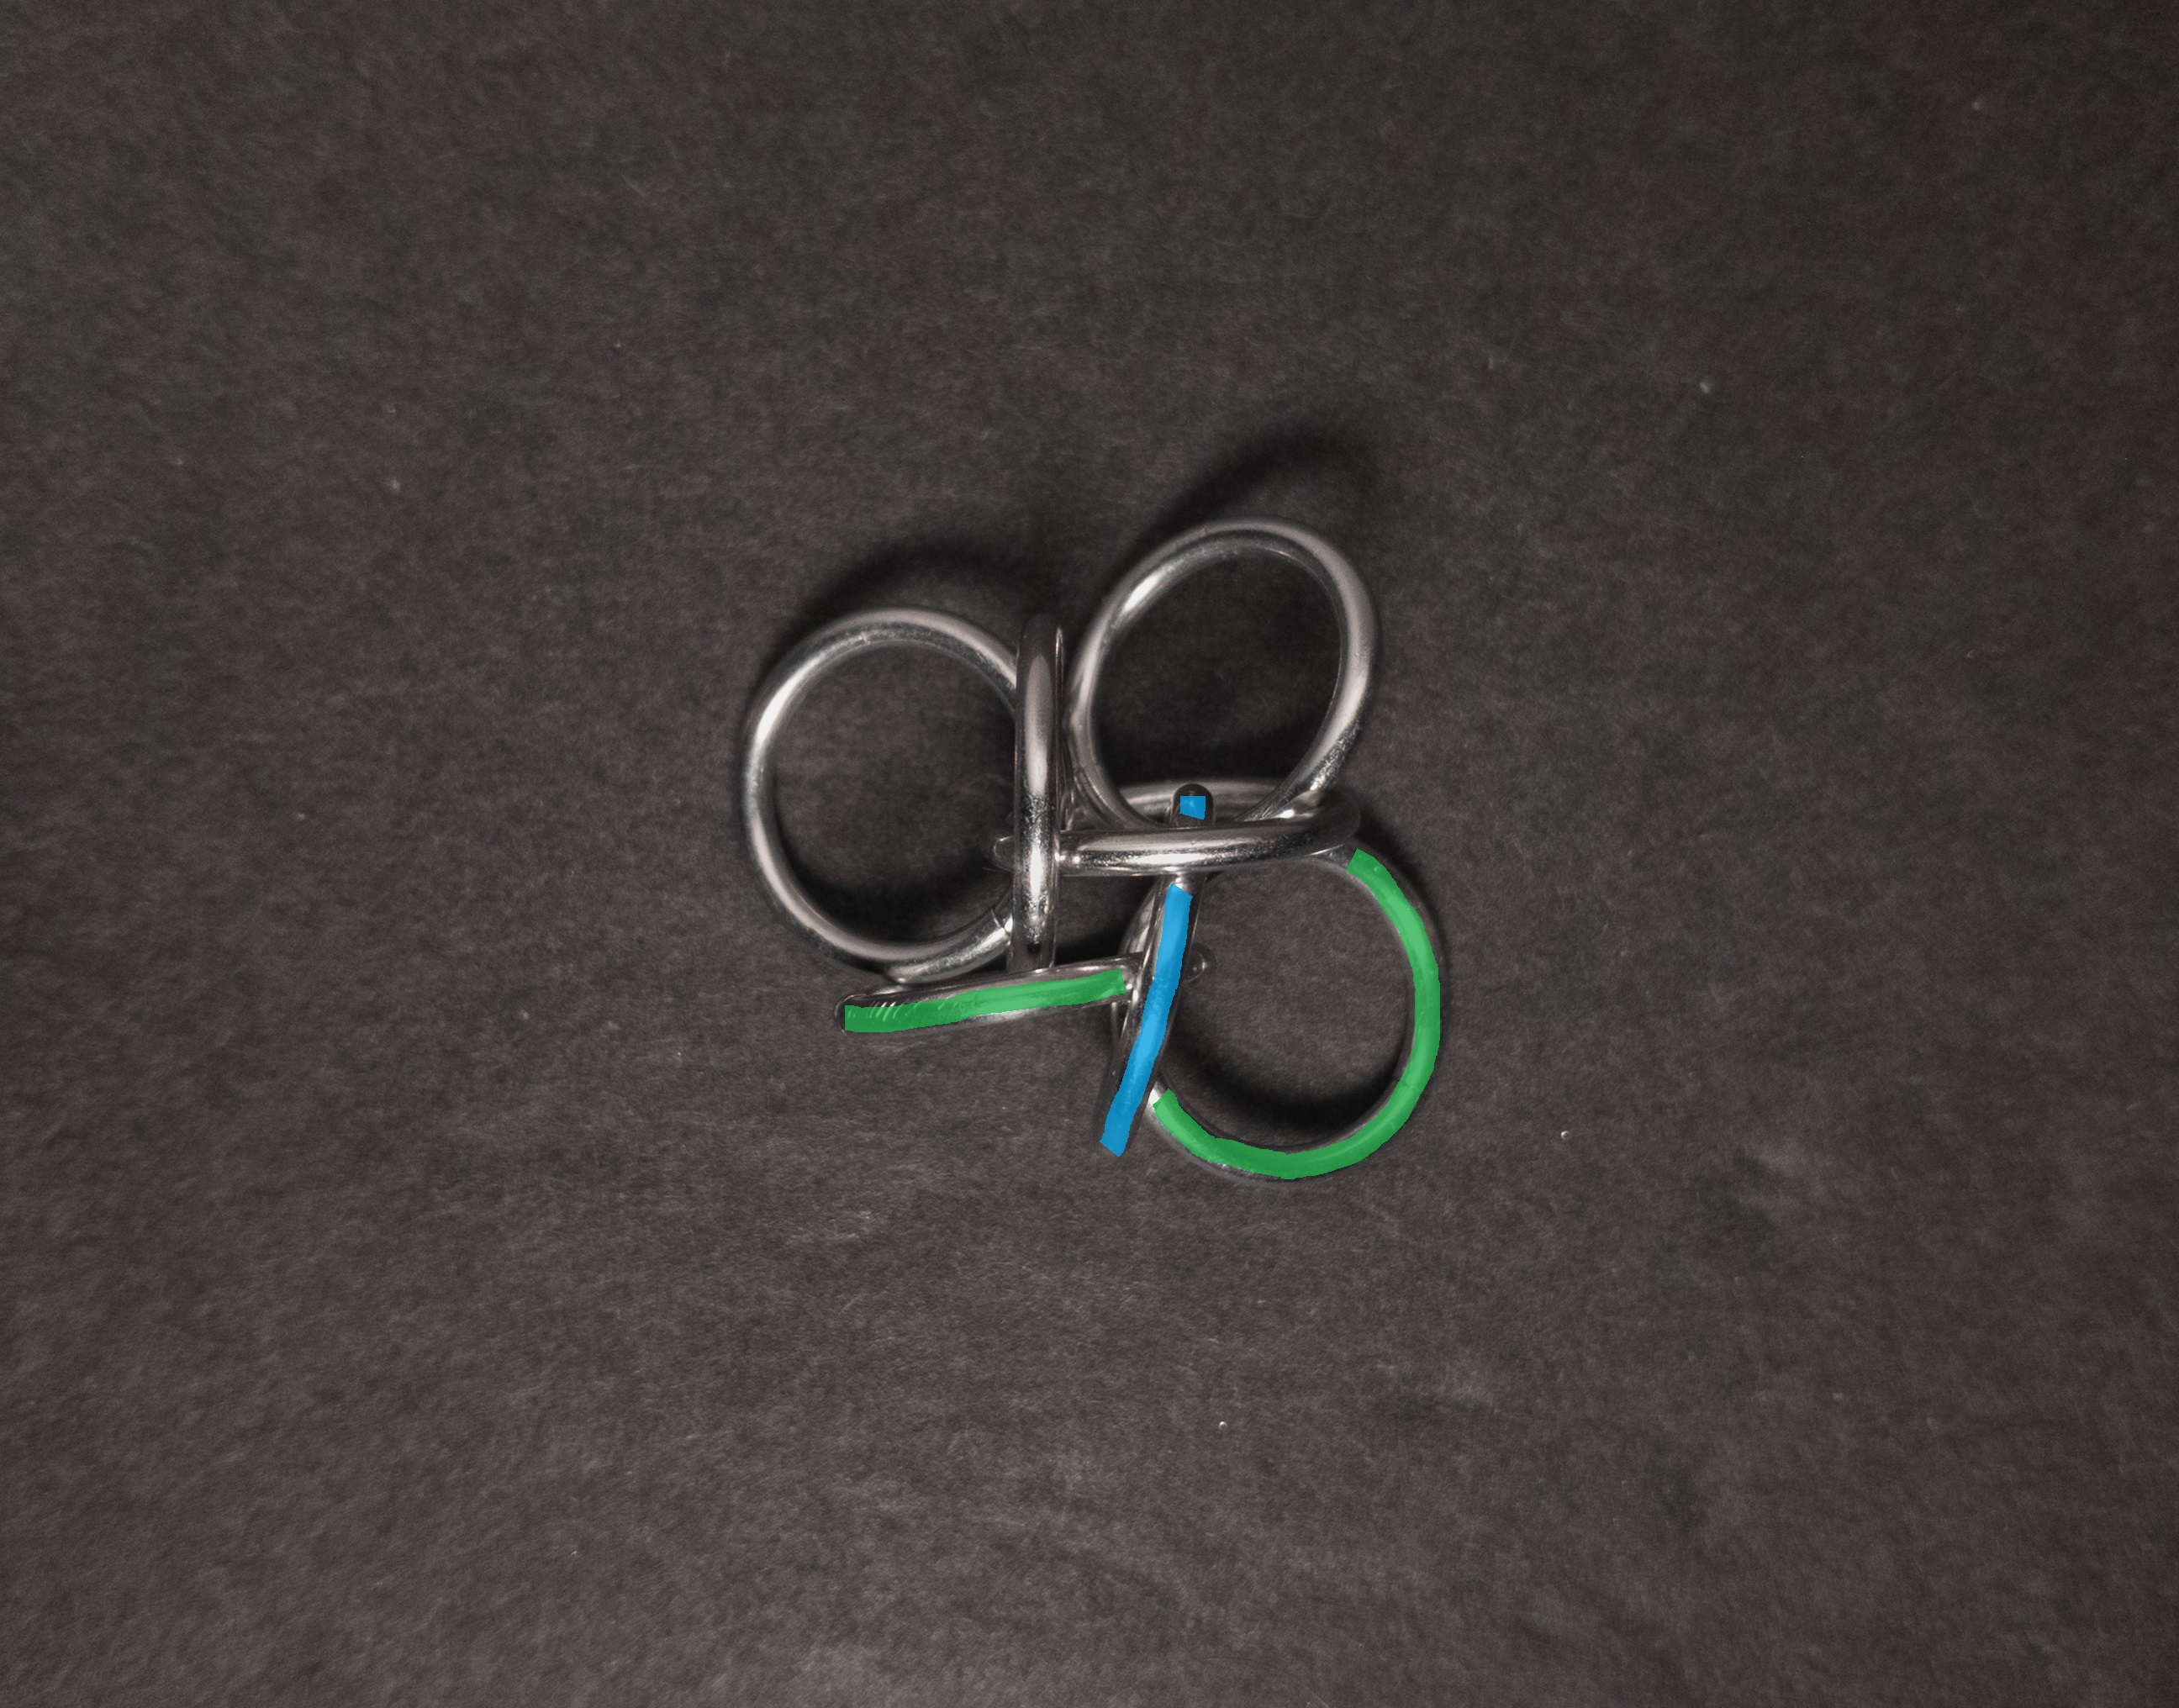
- Again, add 2 new large rings(green in the image below) to create another orbital unit using the vertical non-orbiting ring from the previous step(blue in the image below) as the orbiting ring. When done, it should look something like this:
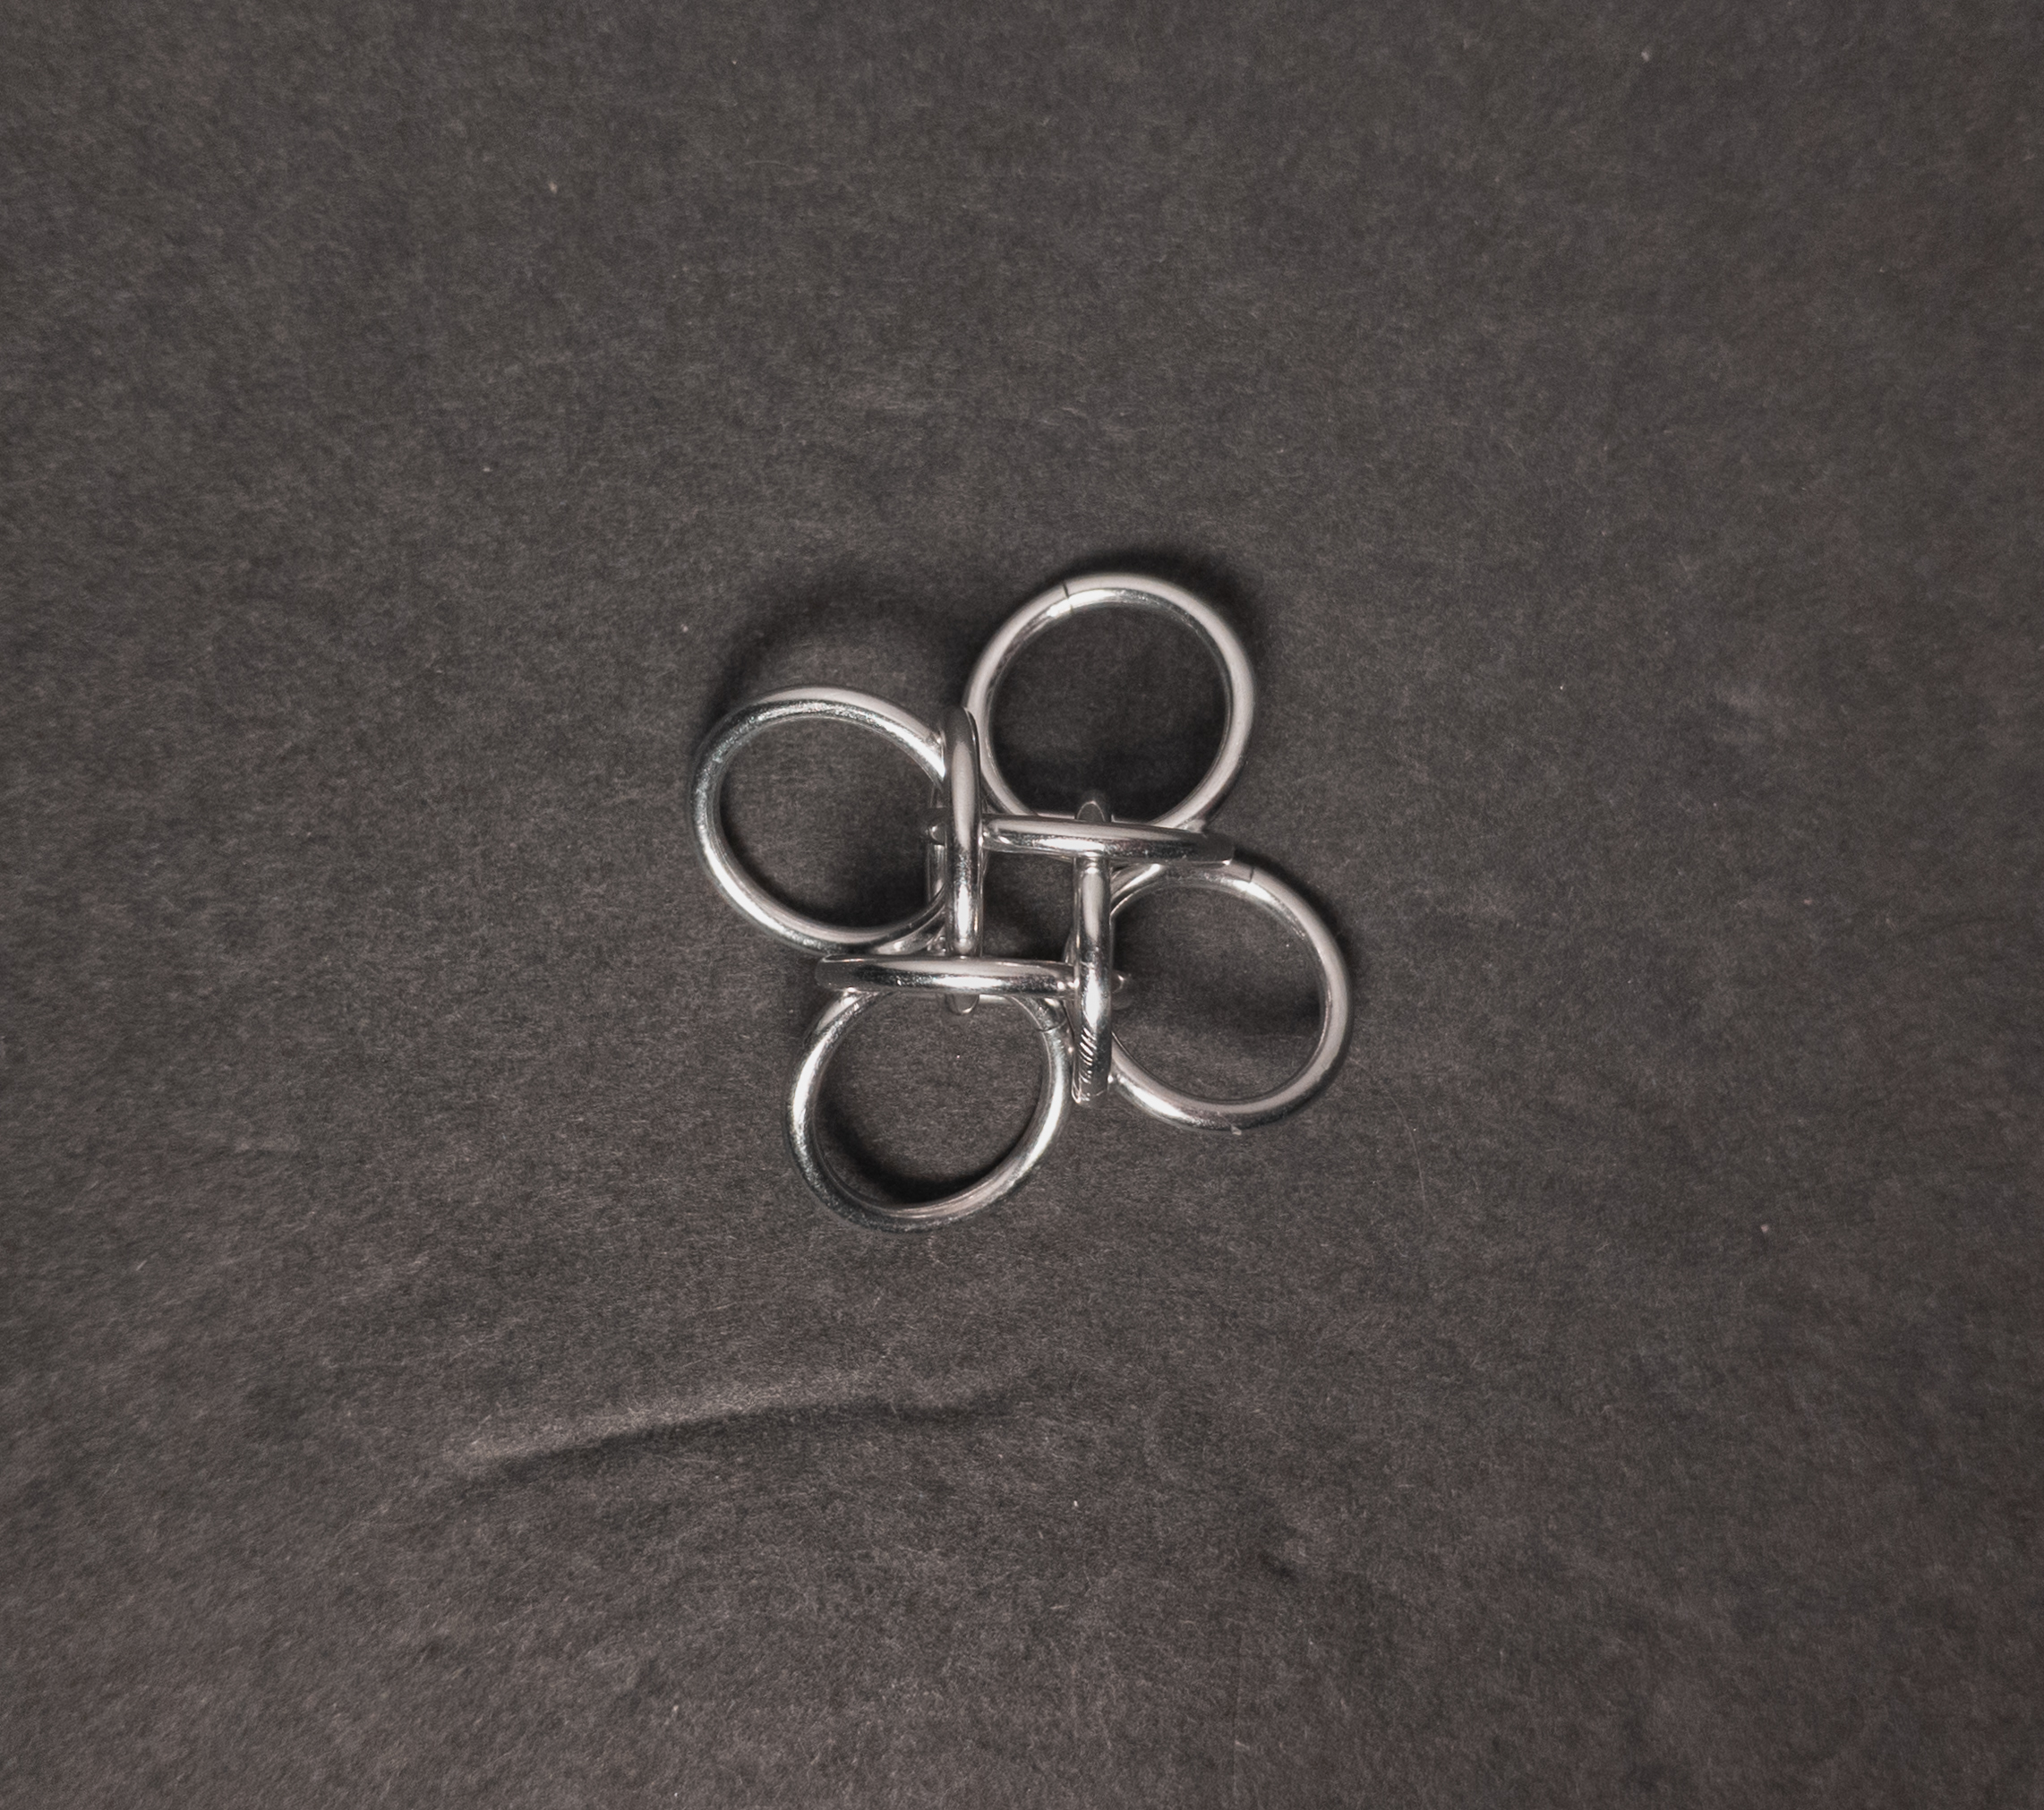
- Add 1 new large ring(green in the image below) through the orbiting ring from step 1(blue in the image below) such that the non-orbiting vertical ring from the previous step(red in the image below) becomes an orbiting ring. When done, it should look something like this:

- Add 1 new small ring(green in the image below) through just the large orbiting rings(blue in the image above) and above the non-orbiting large rings(red in the image below). When done, it should look something like this:
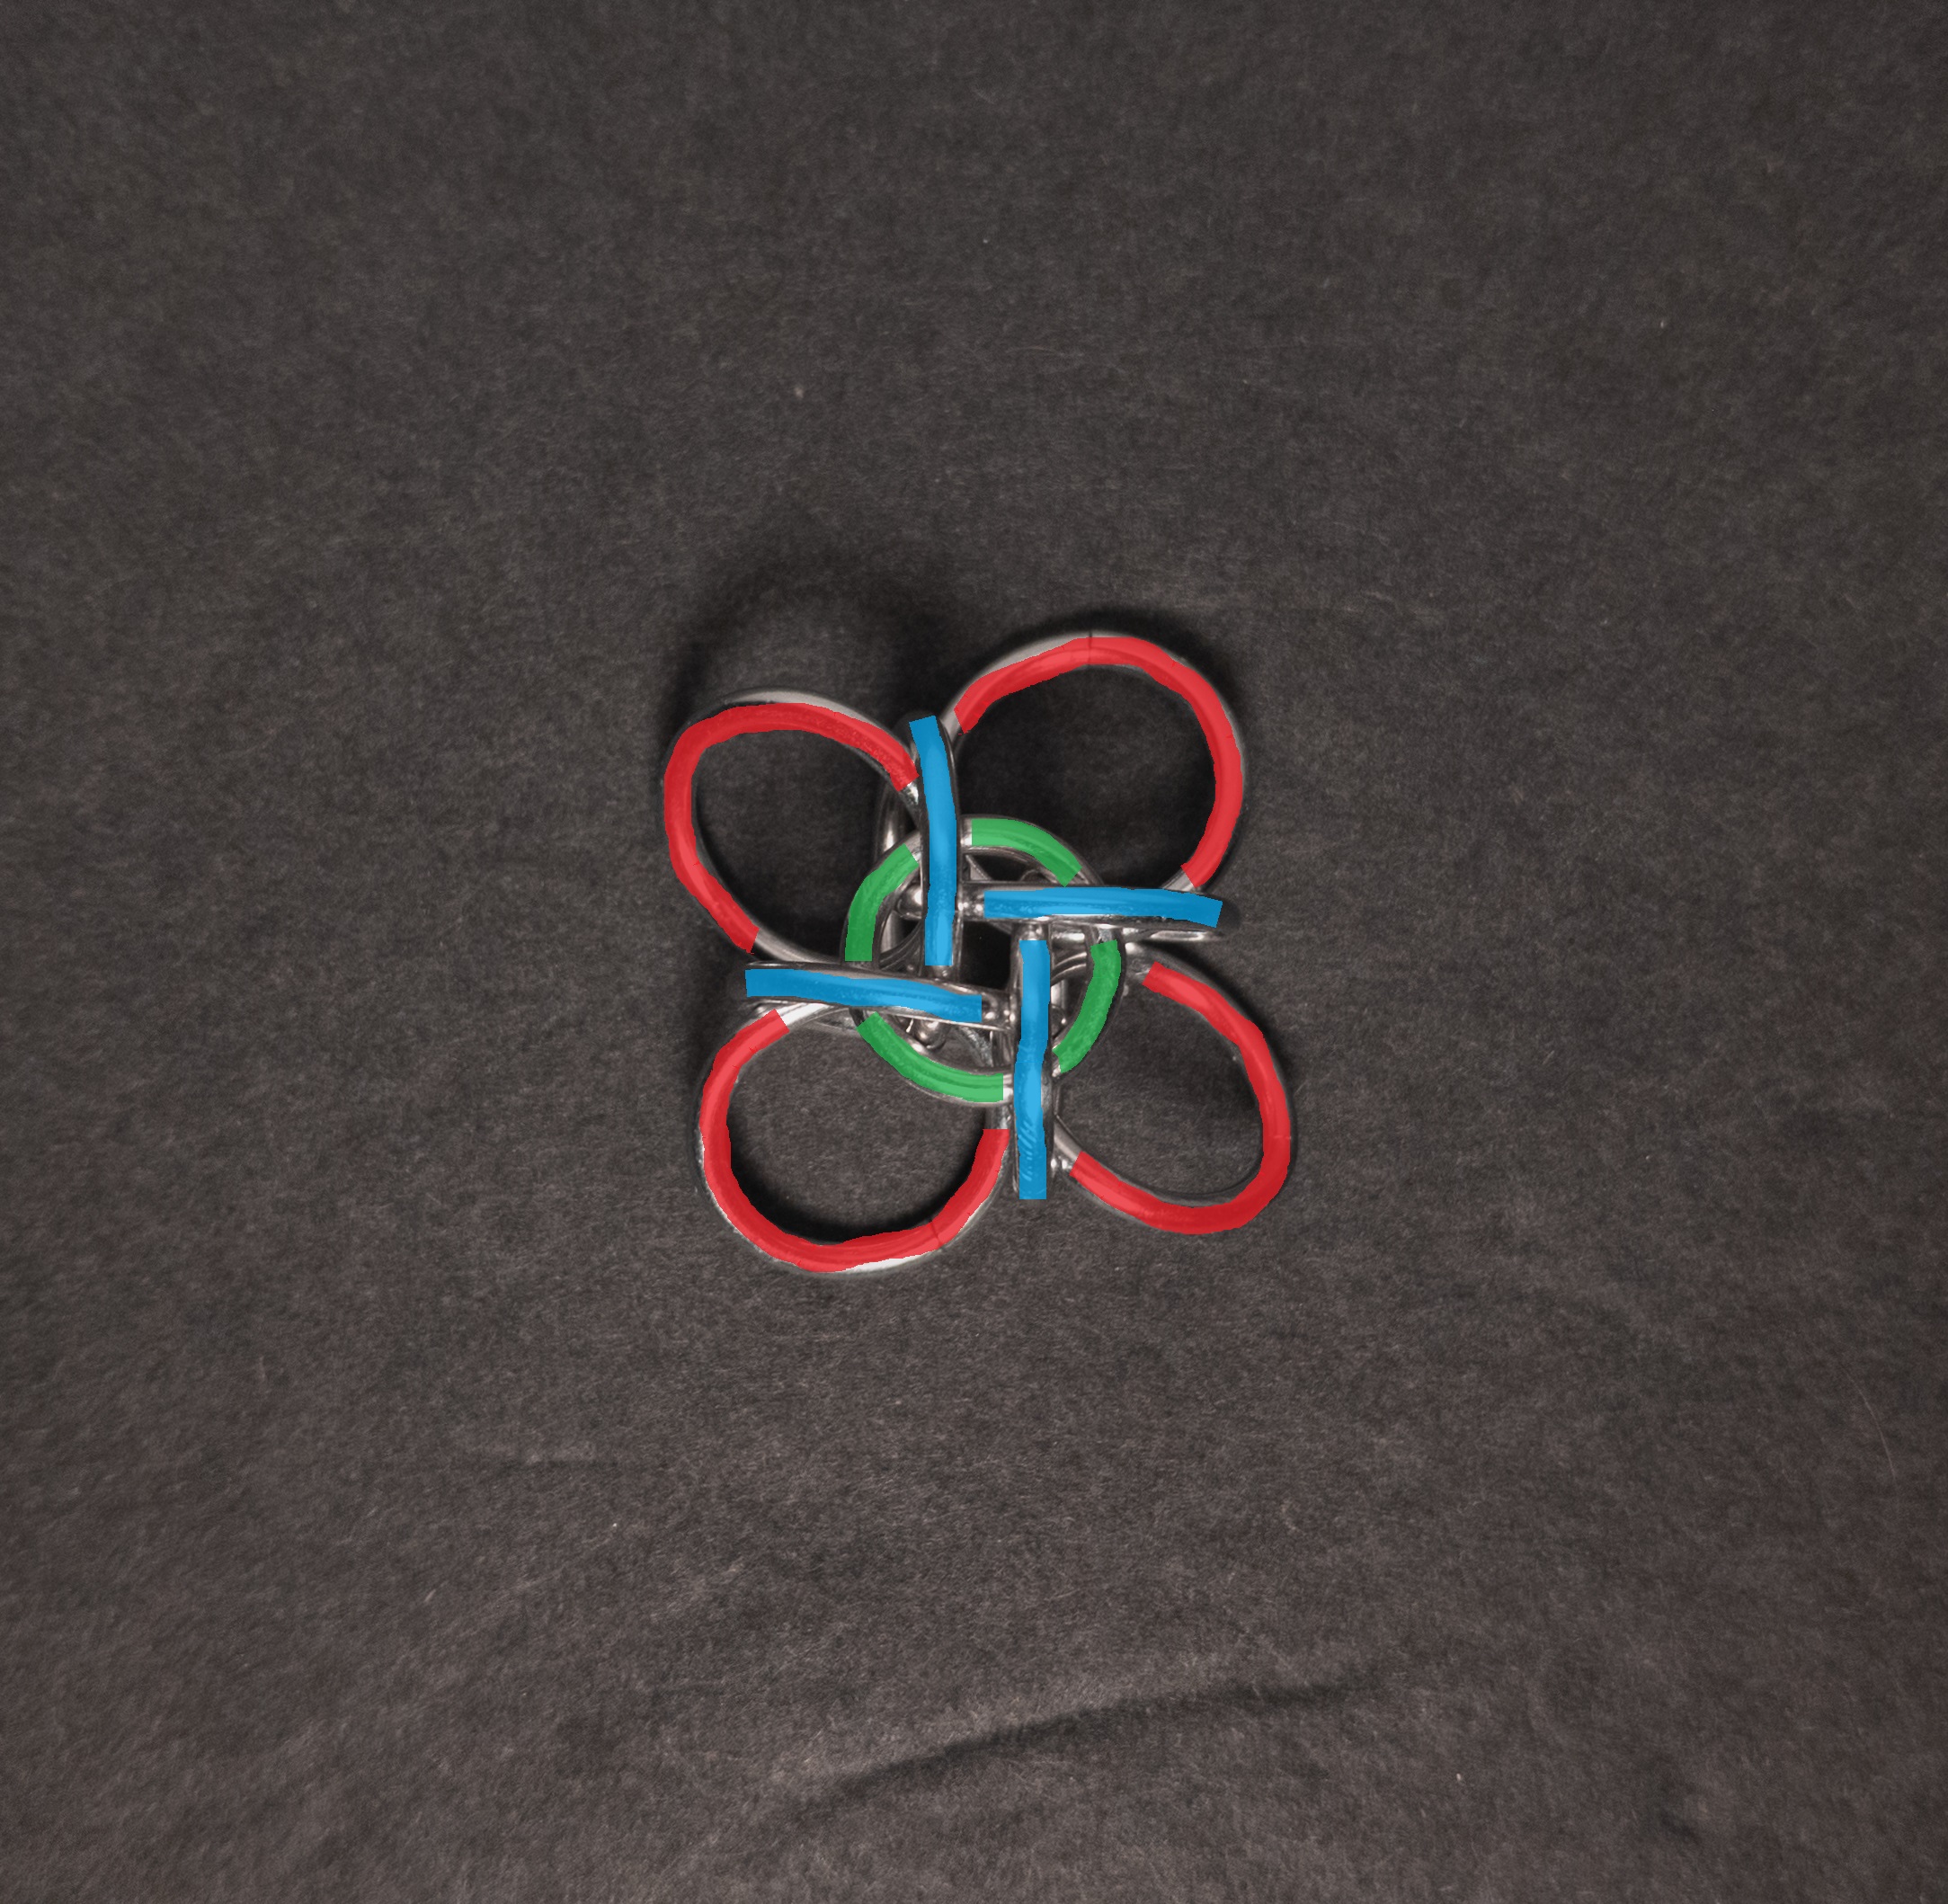
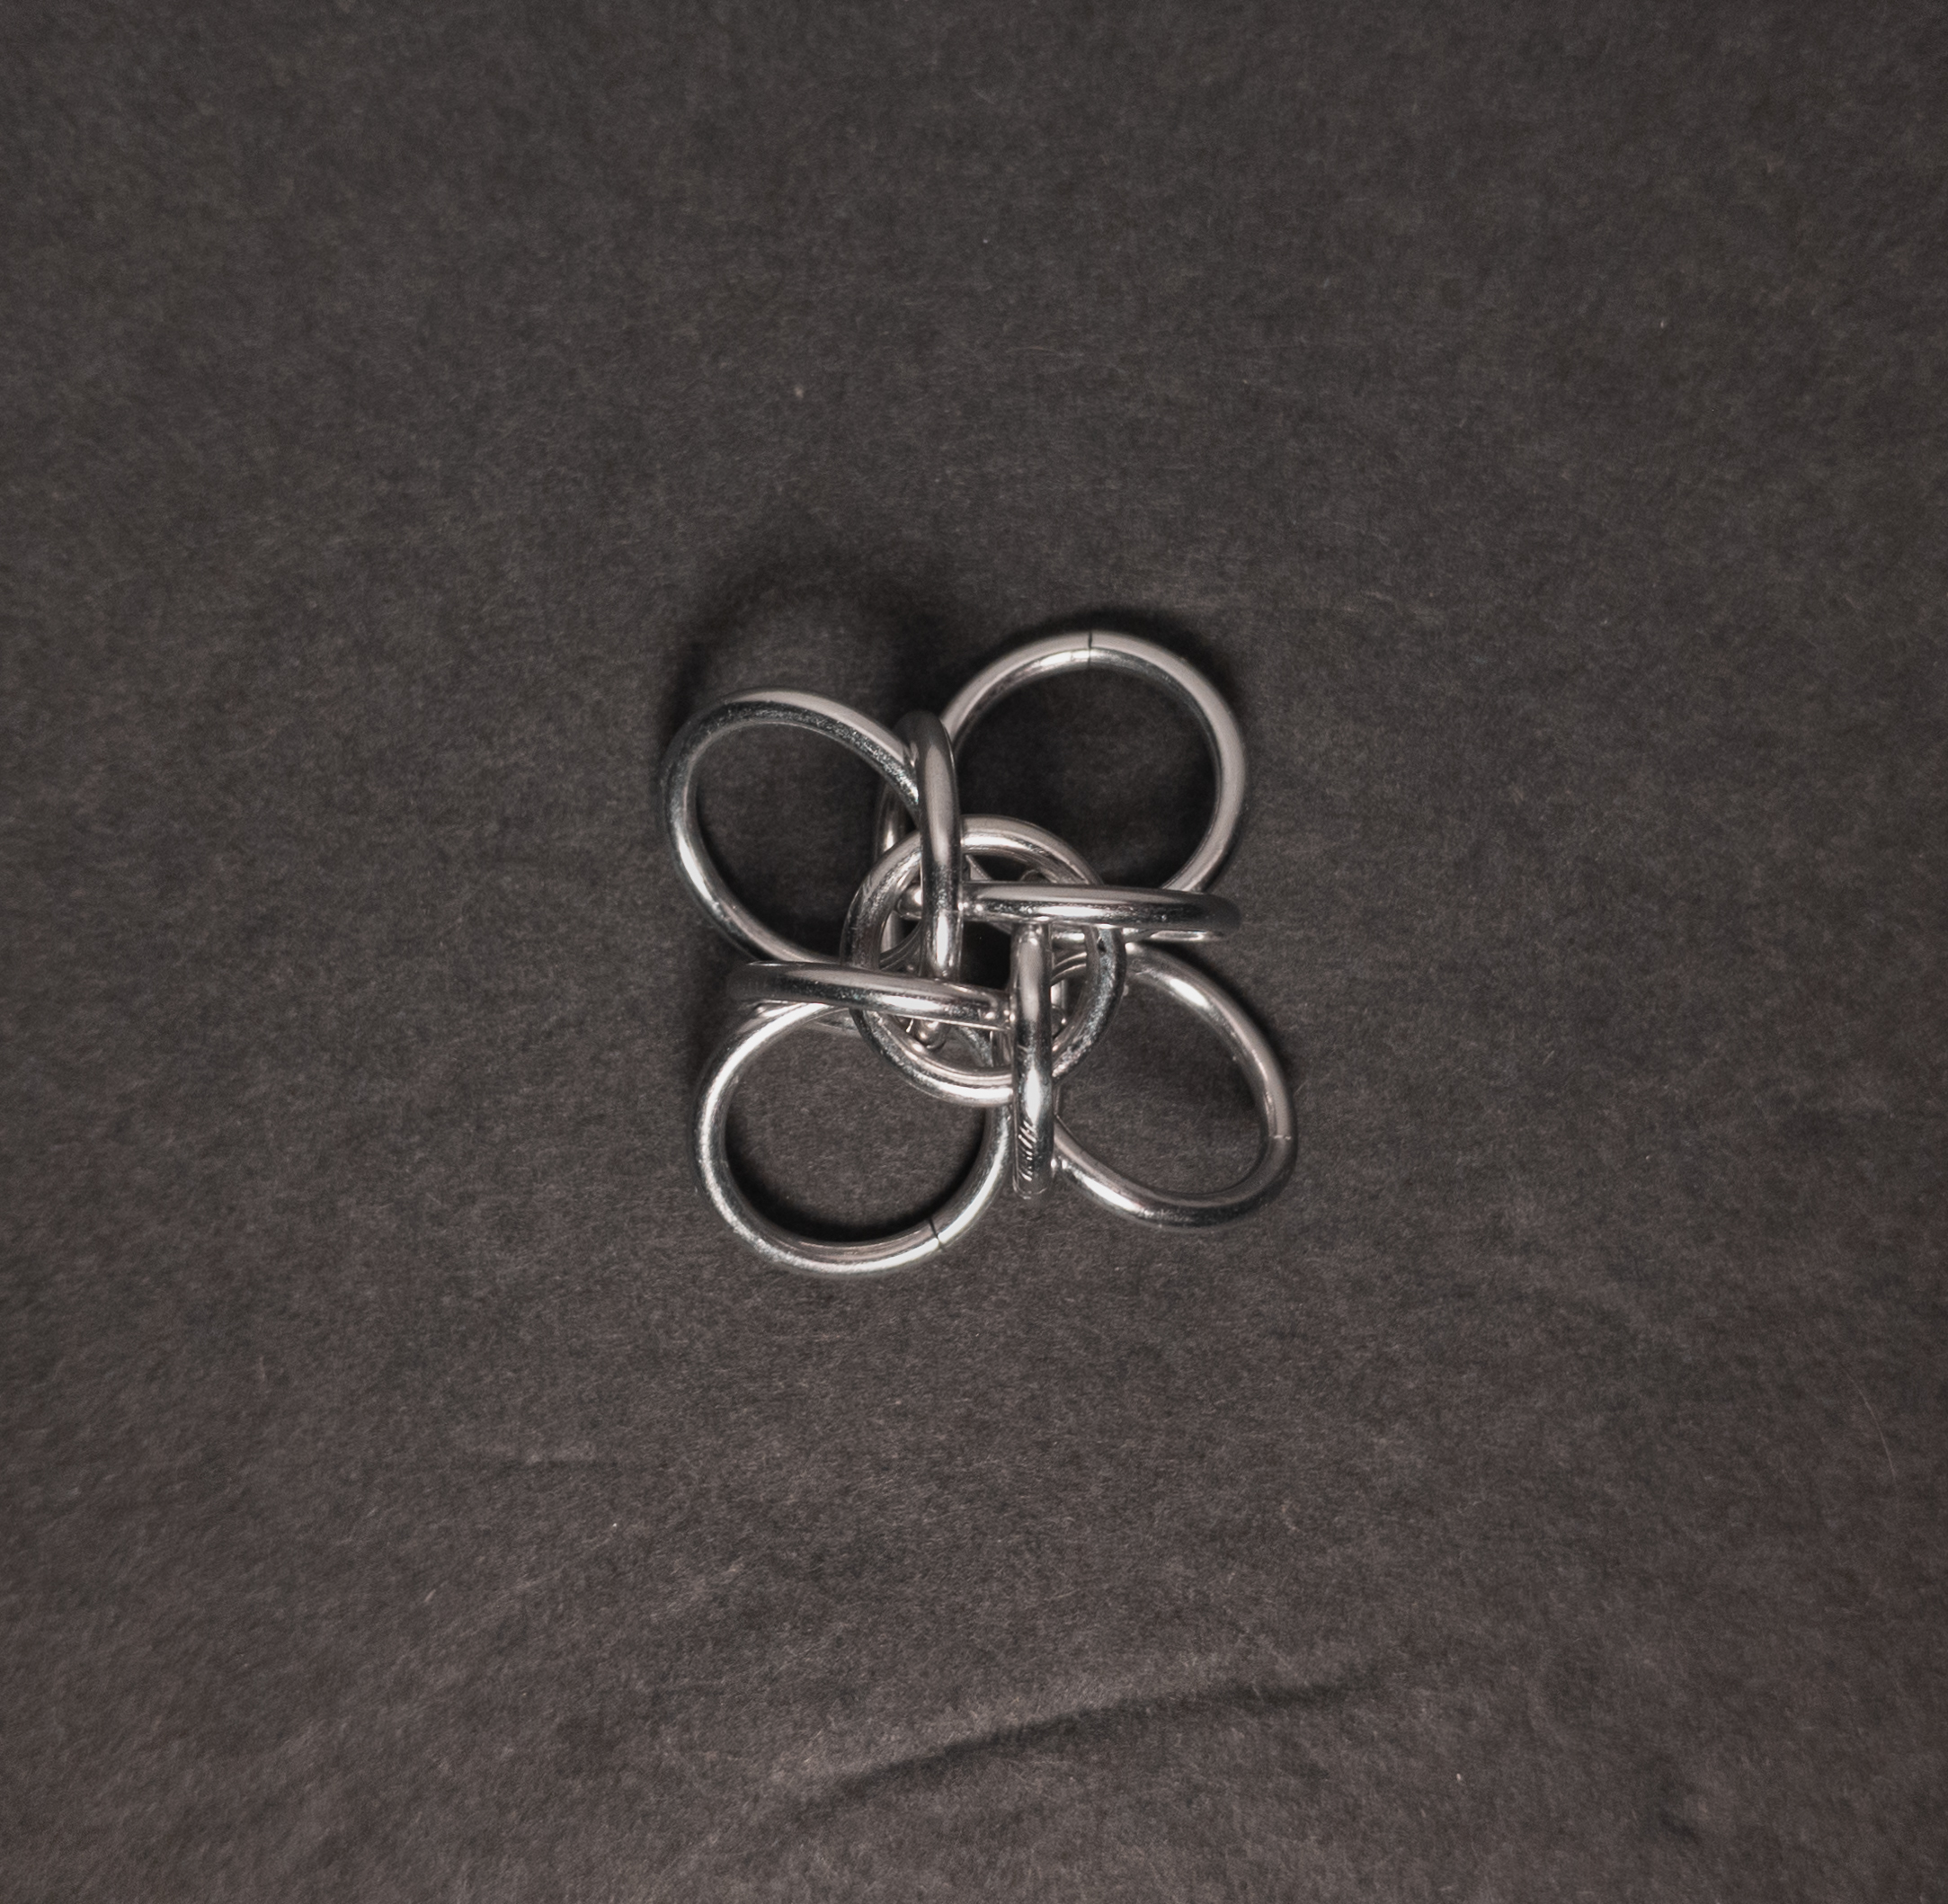
- Finally, flip the weave over and add 1 new small ring(green in the image below) through just the large orbiting rings(blue in the image above) and above the non-orbiting large rings(red in the image below). When done, it should look something like this:
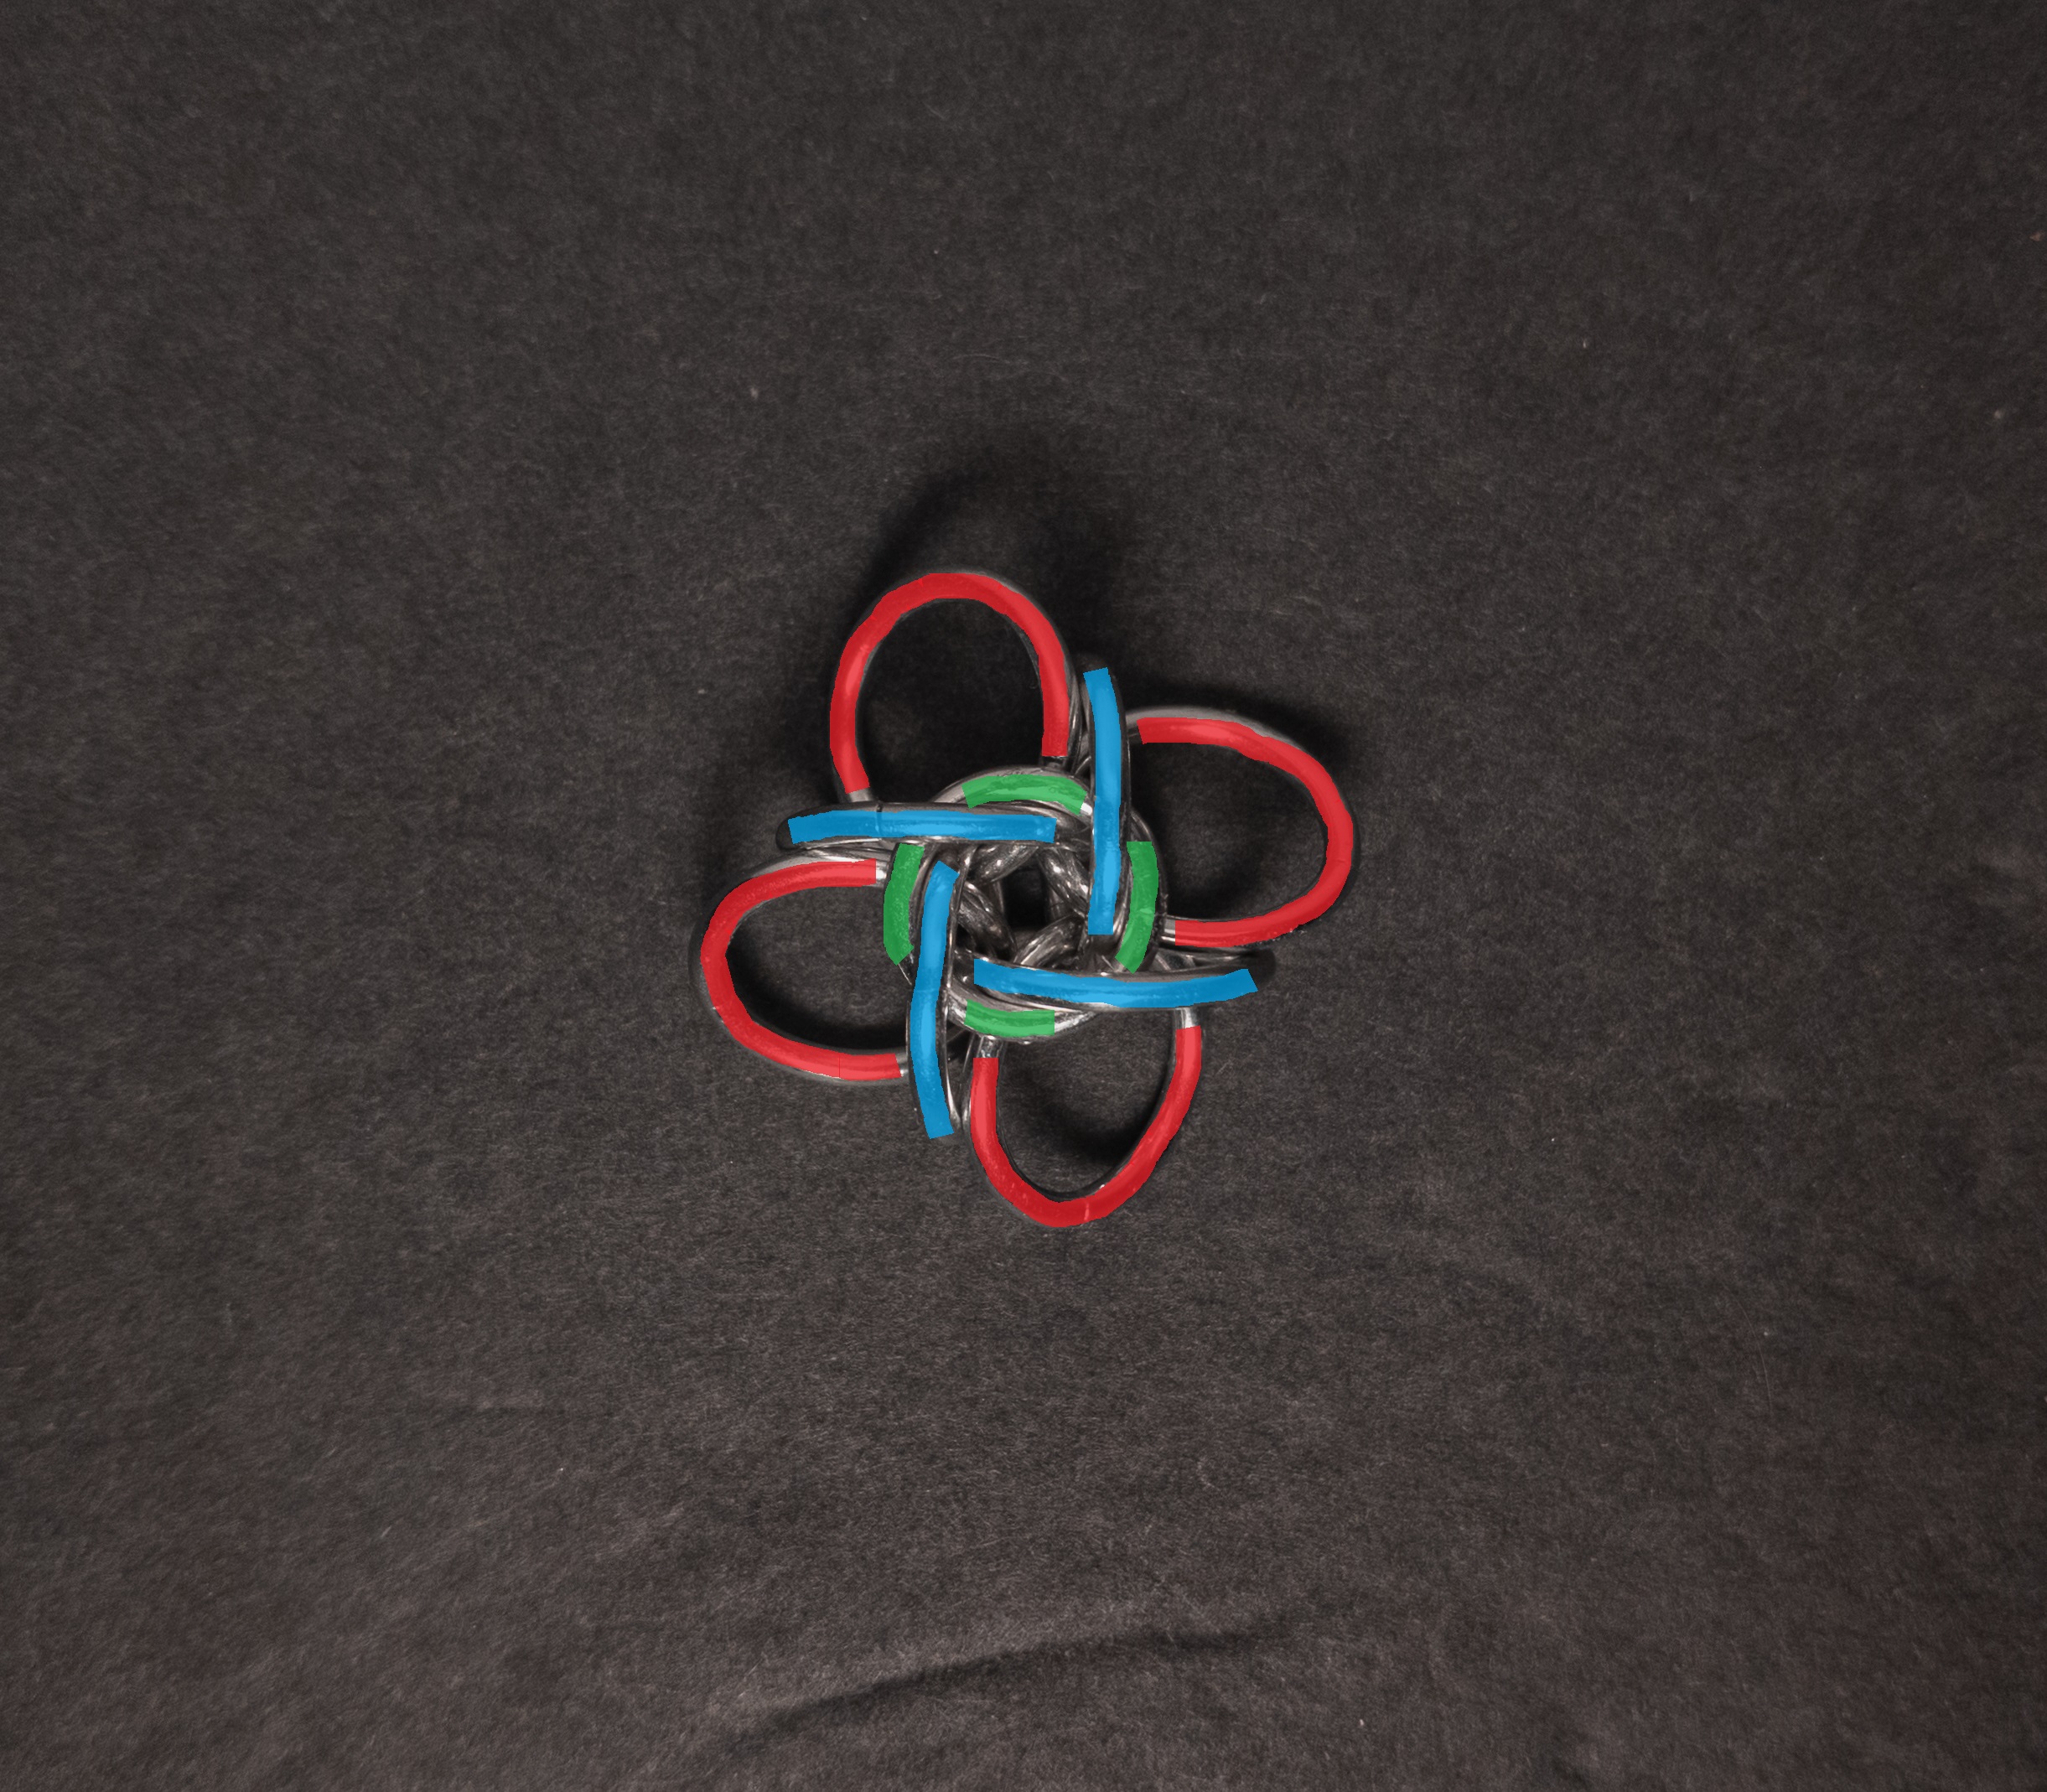
- Congratulations, you now have a Tao 4 unit.
Notes
The weave is simple to understand and not too hard to create. Although, step 6 can become challenging if you use tighter rings. You could likely reduce that difficulty by using bent nose pliers. The weave looks quite good, particularly if the flat rings consistently overlap in the same direction. As a unit weave, it is well-suited for use in pendants, charms, or earrings. I recommend learning to make this weave, given its attractive appearance and ease of learning and making.
Pictures
Flat
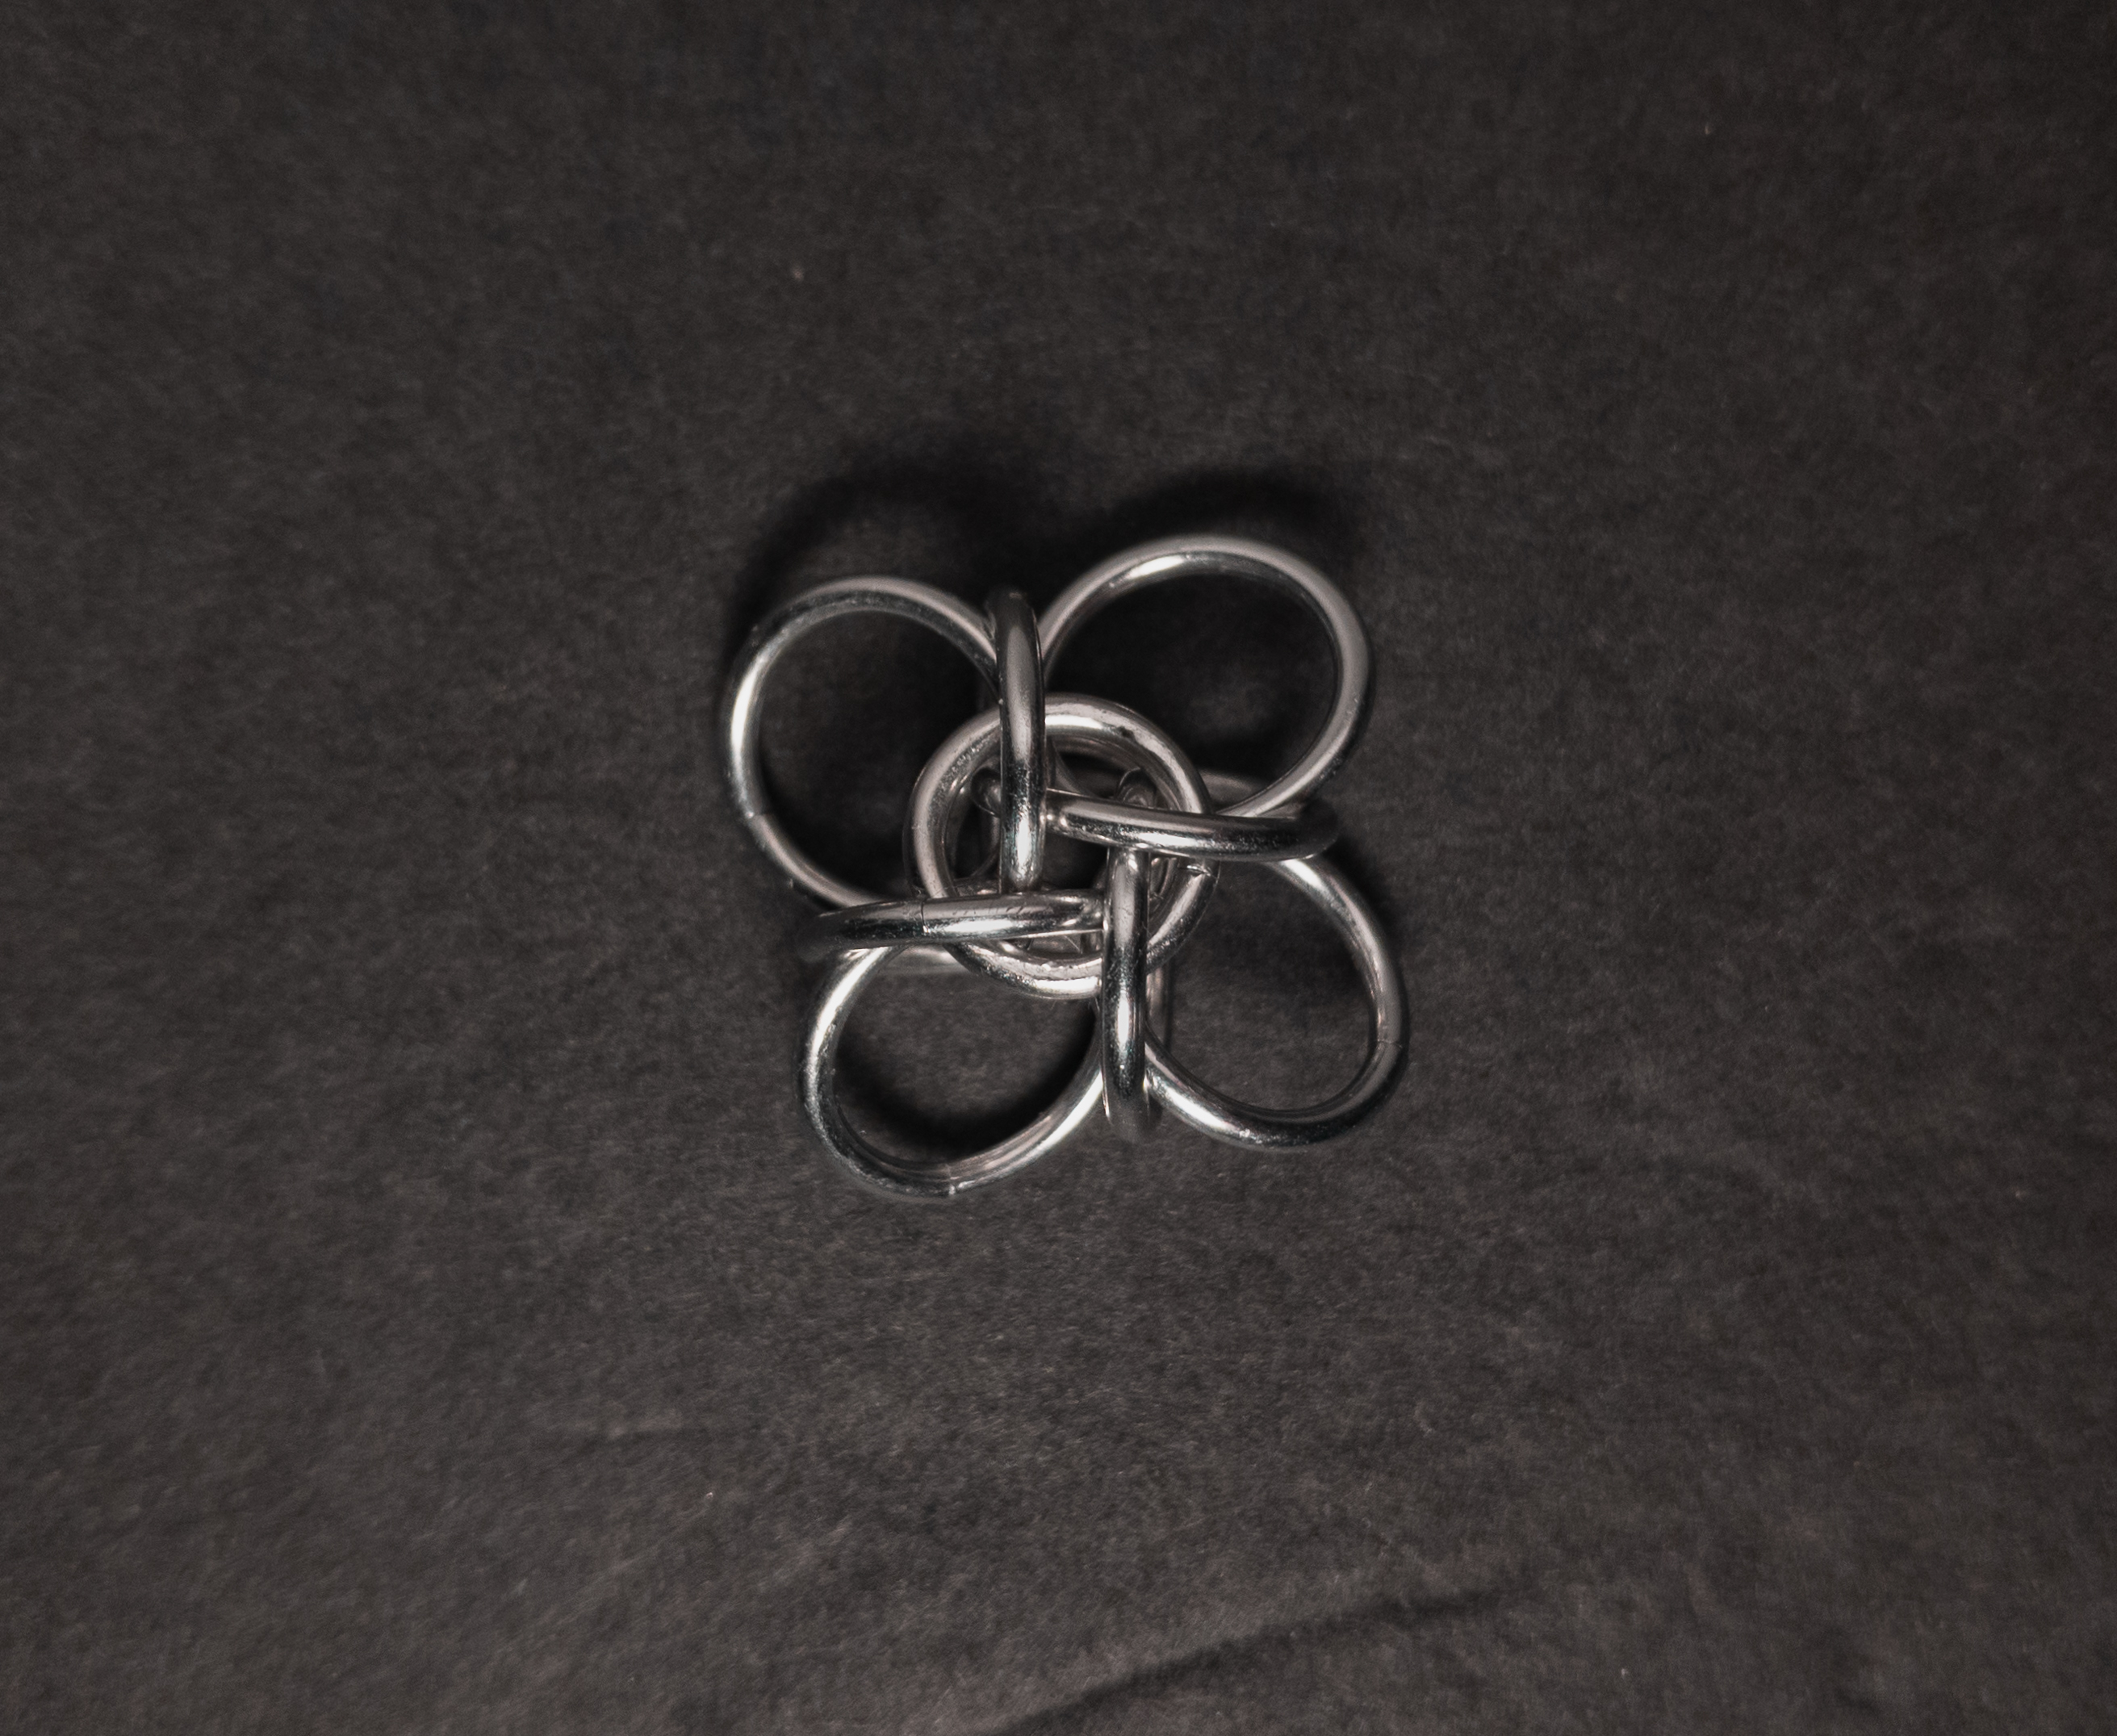
Flat: Angled
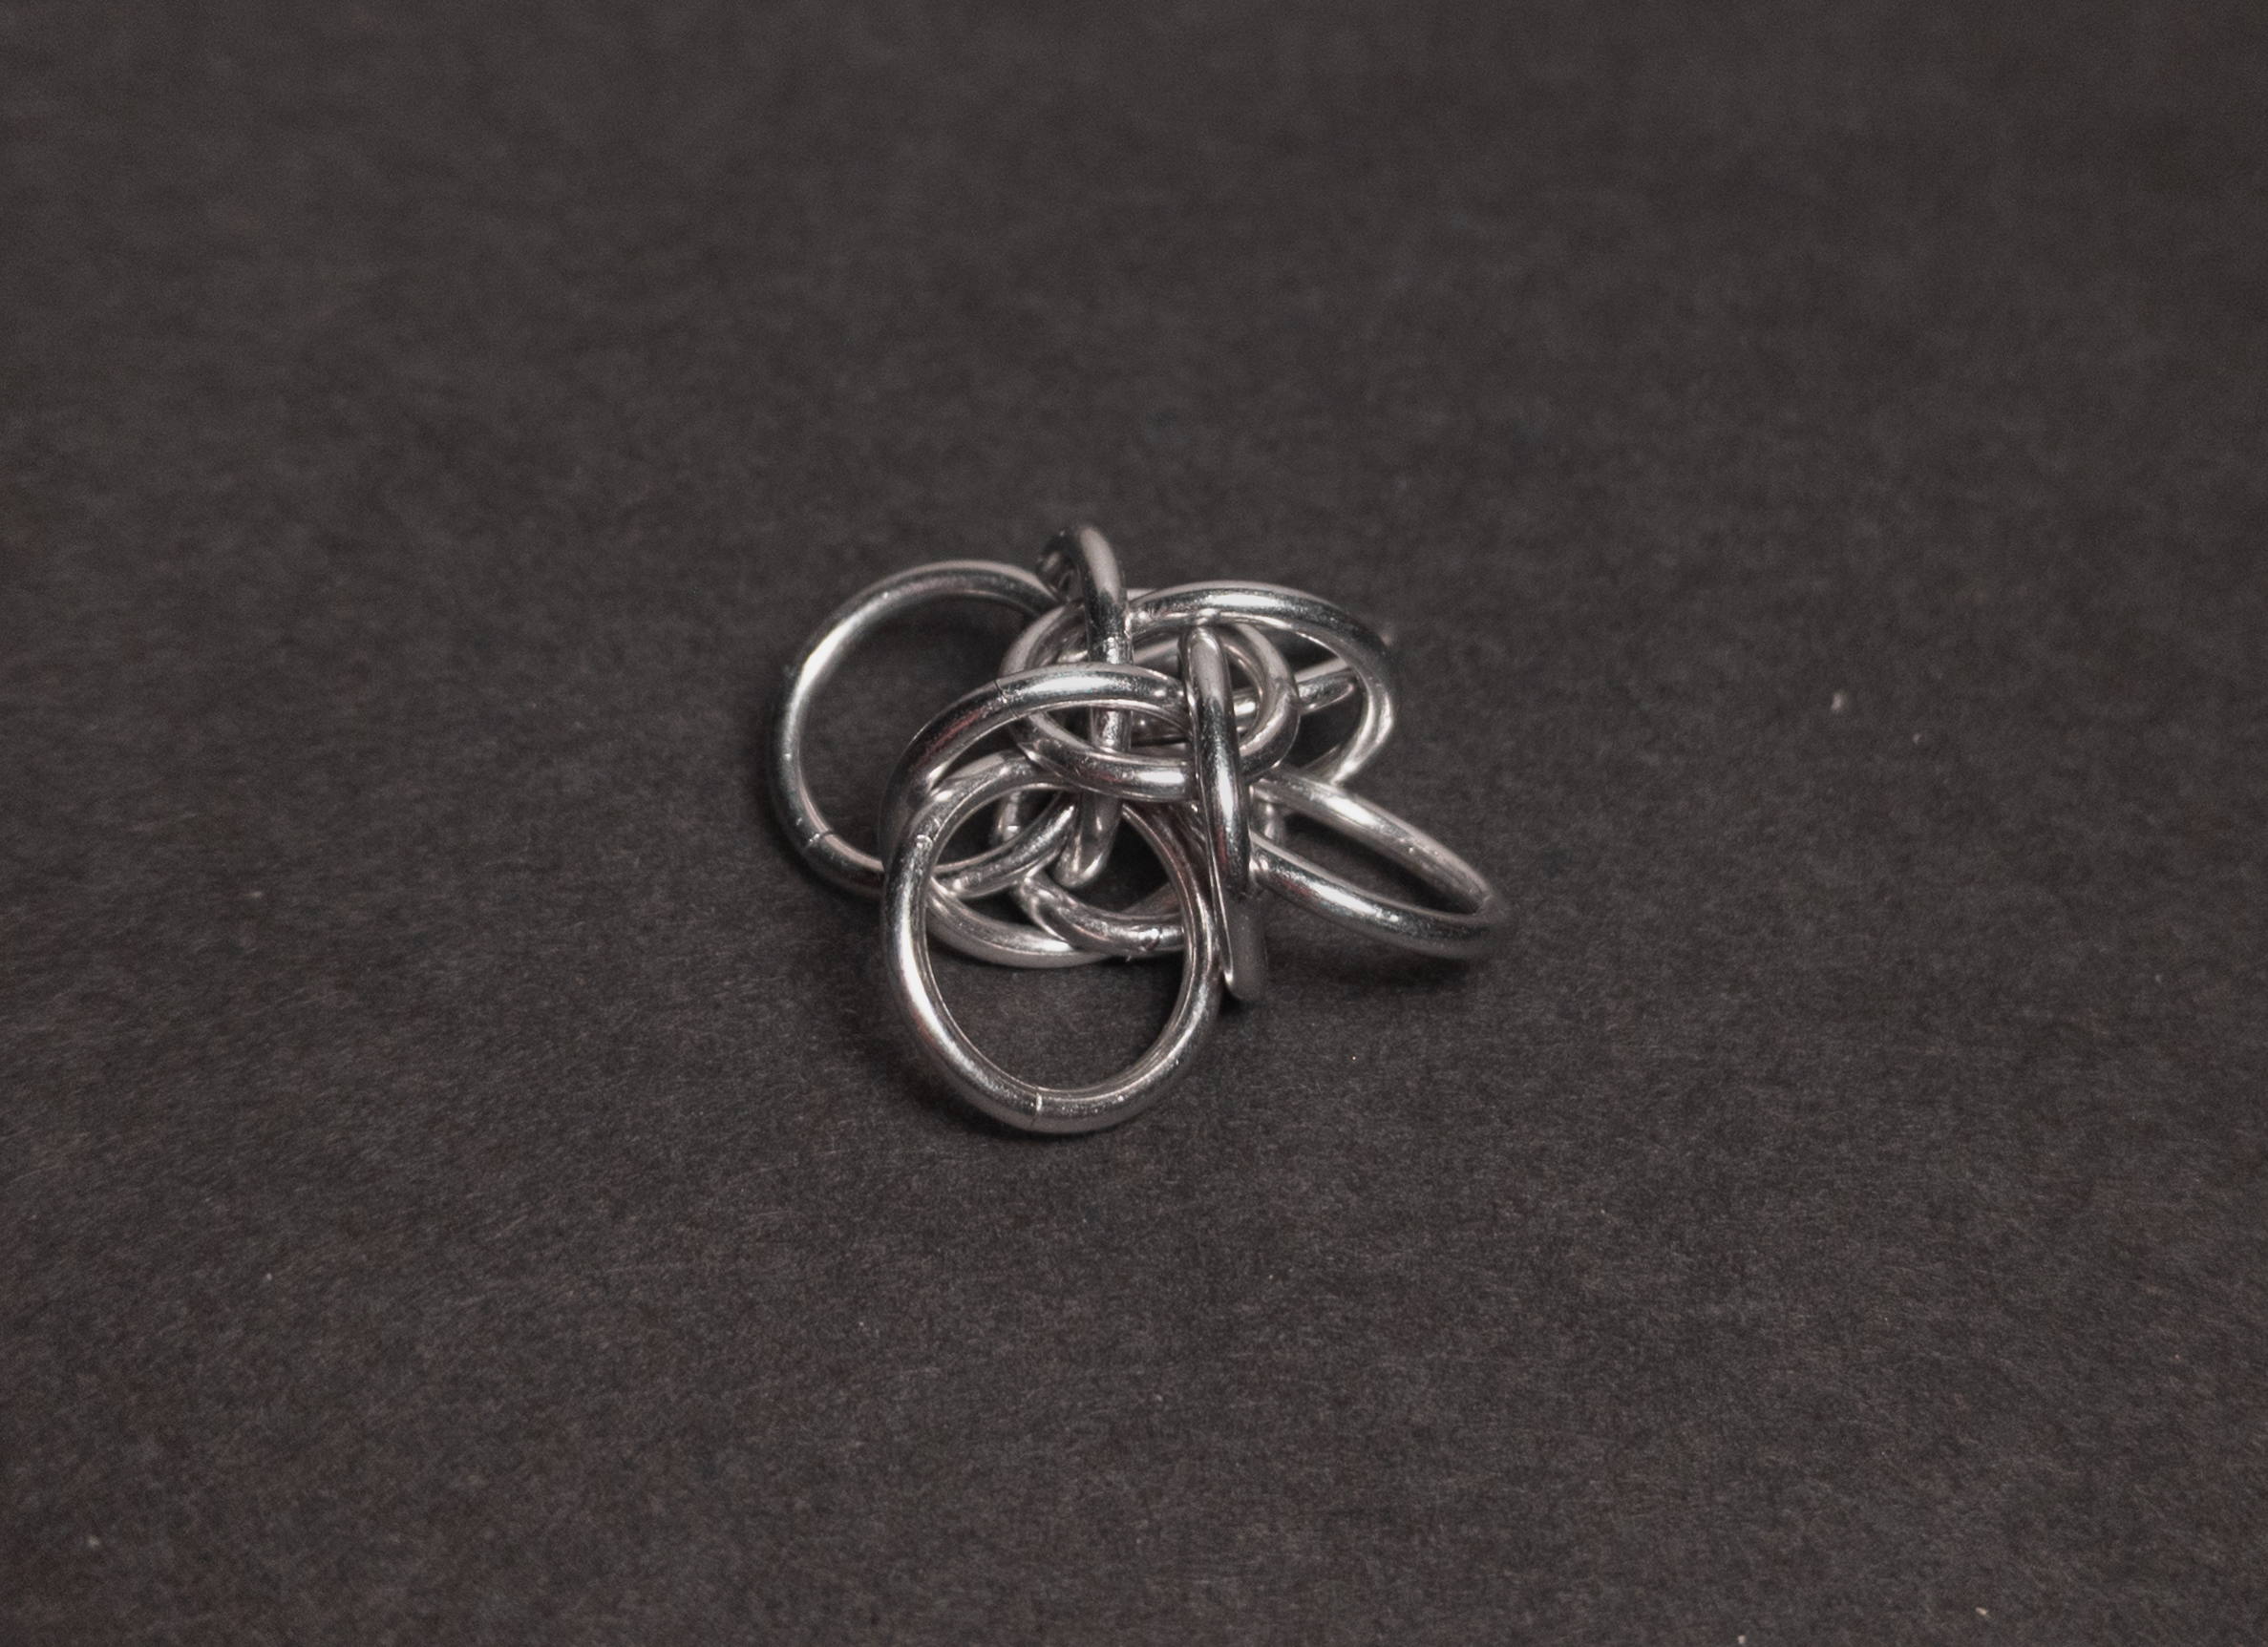
Flat: Profile
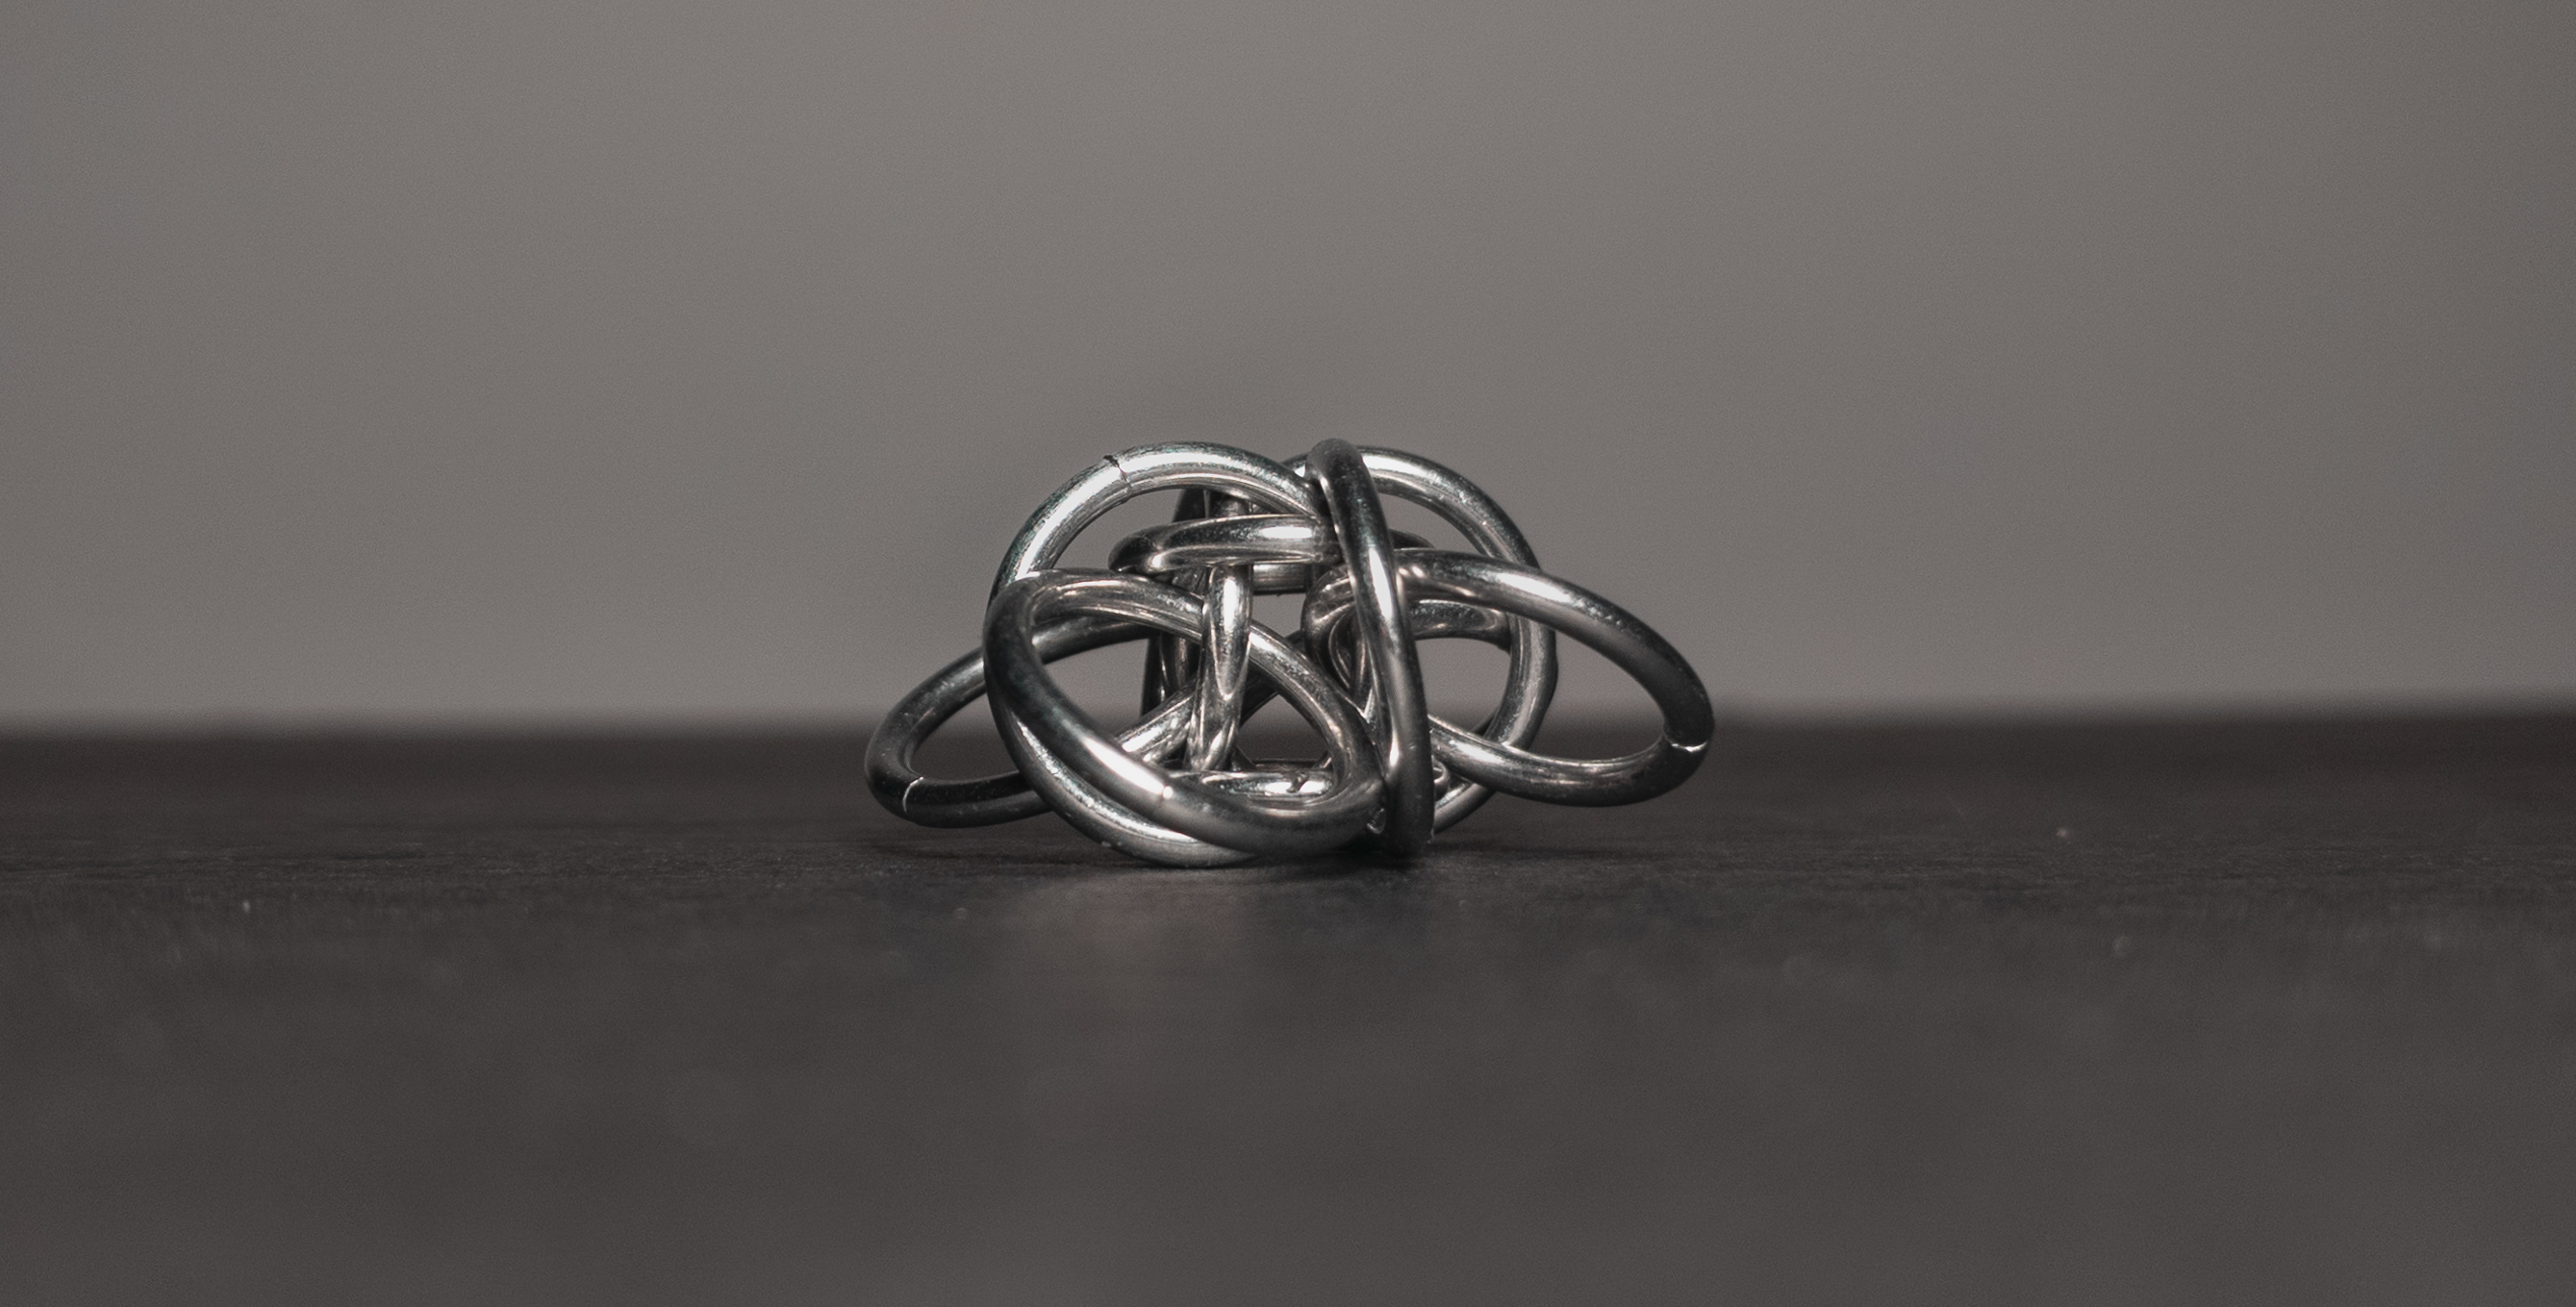
Vertical
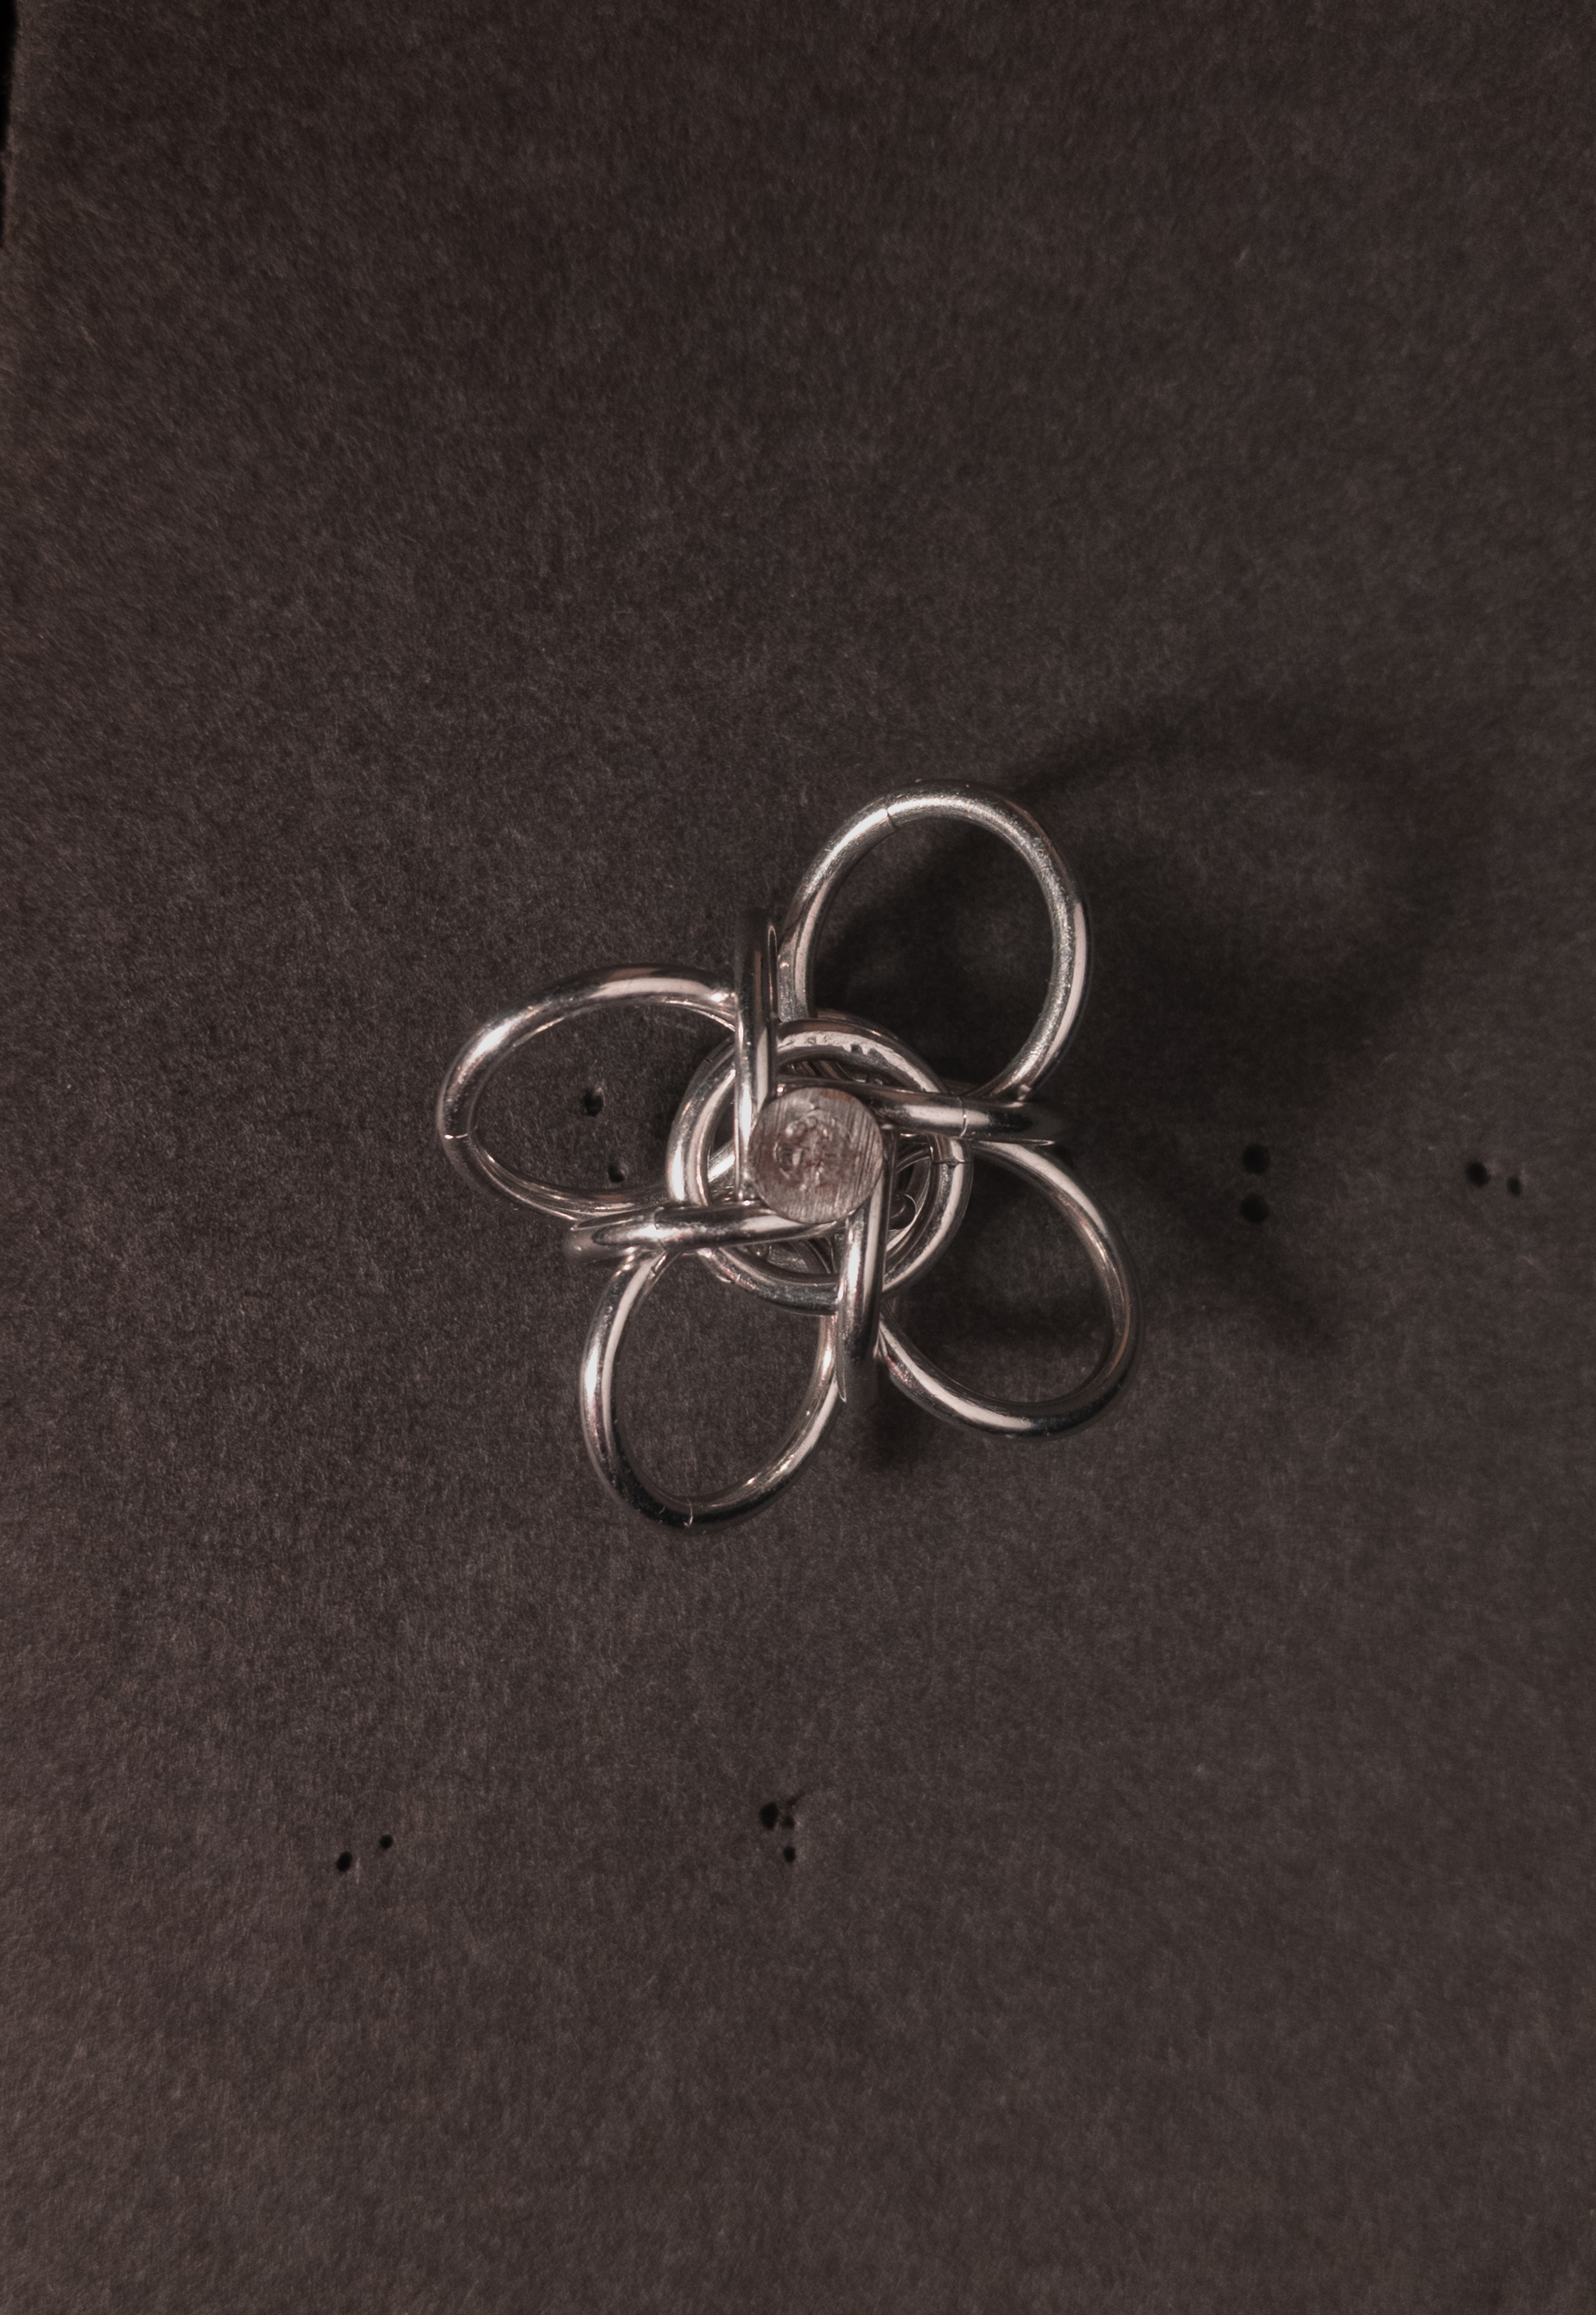
Vertical: Profile
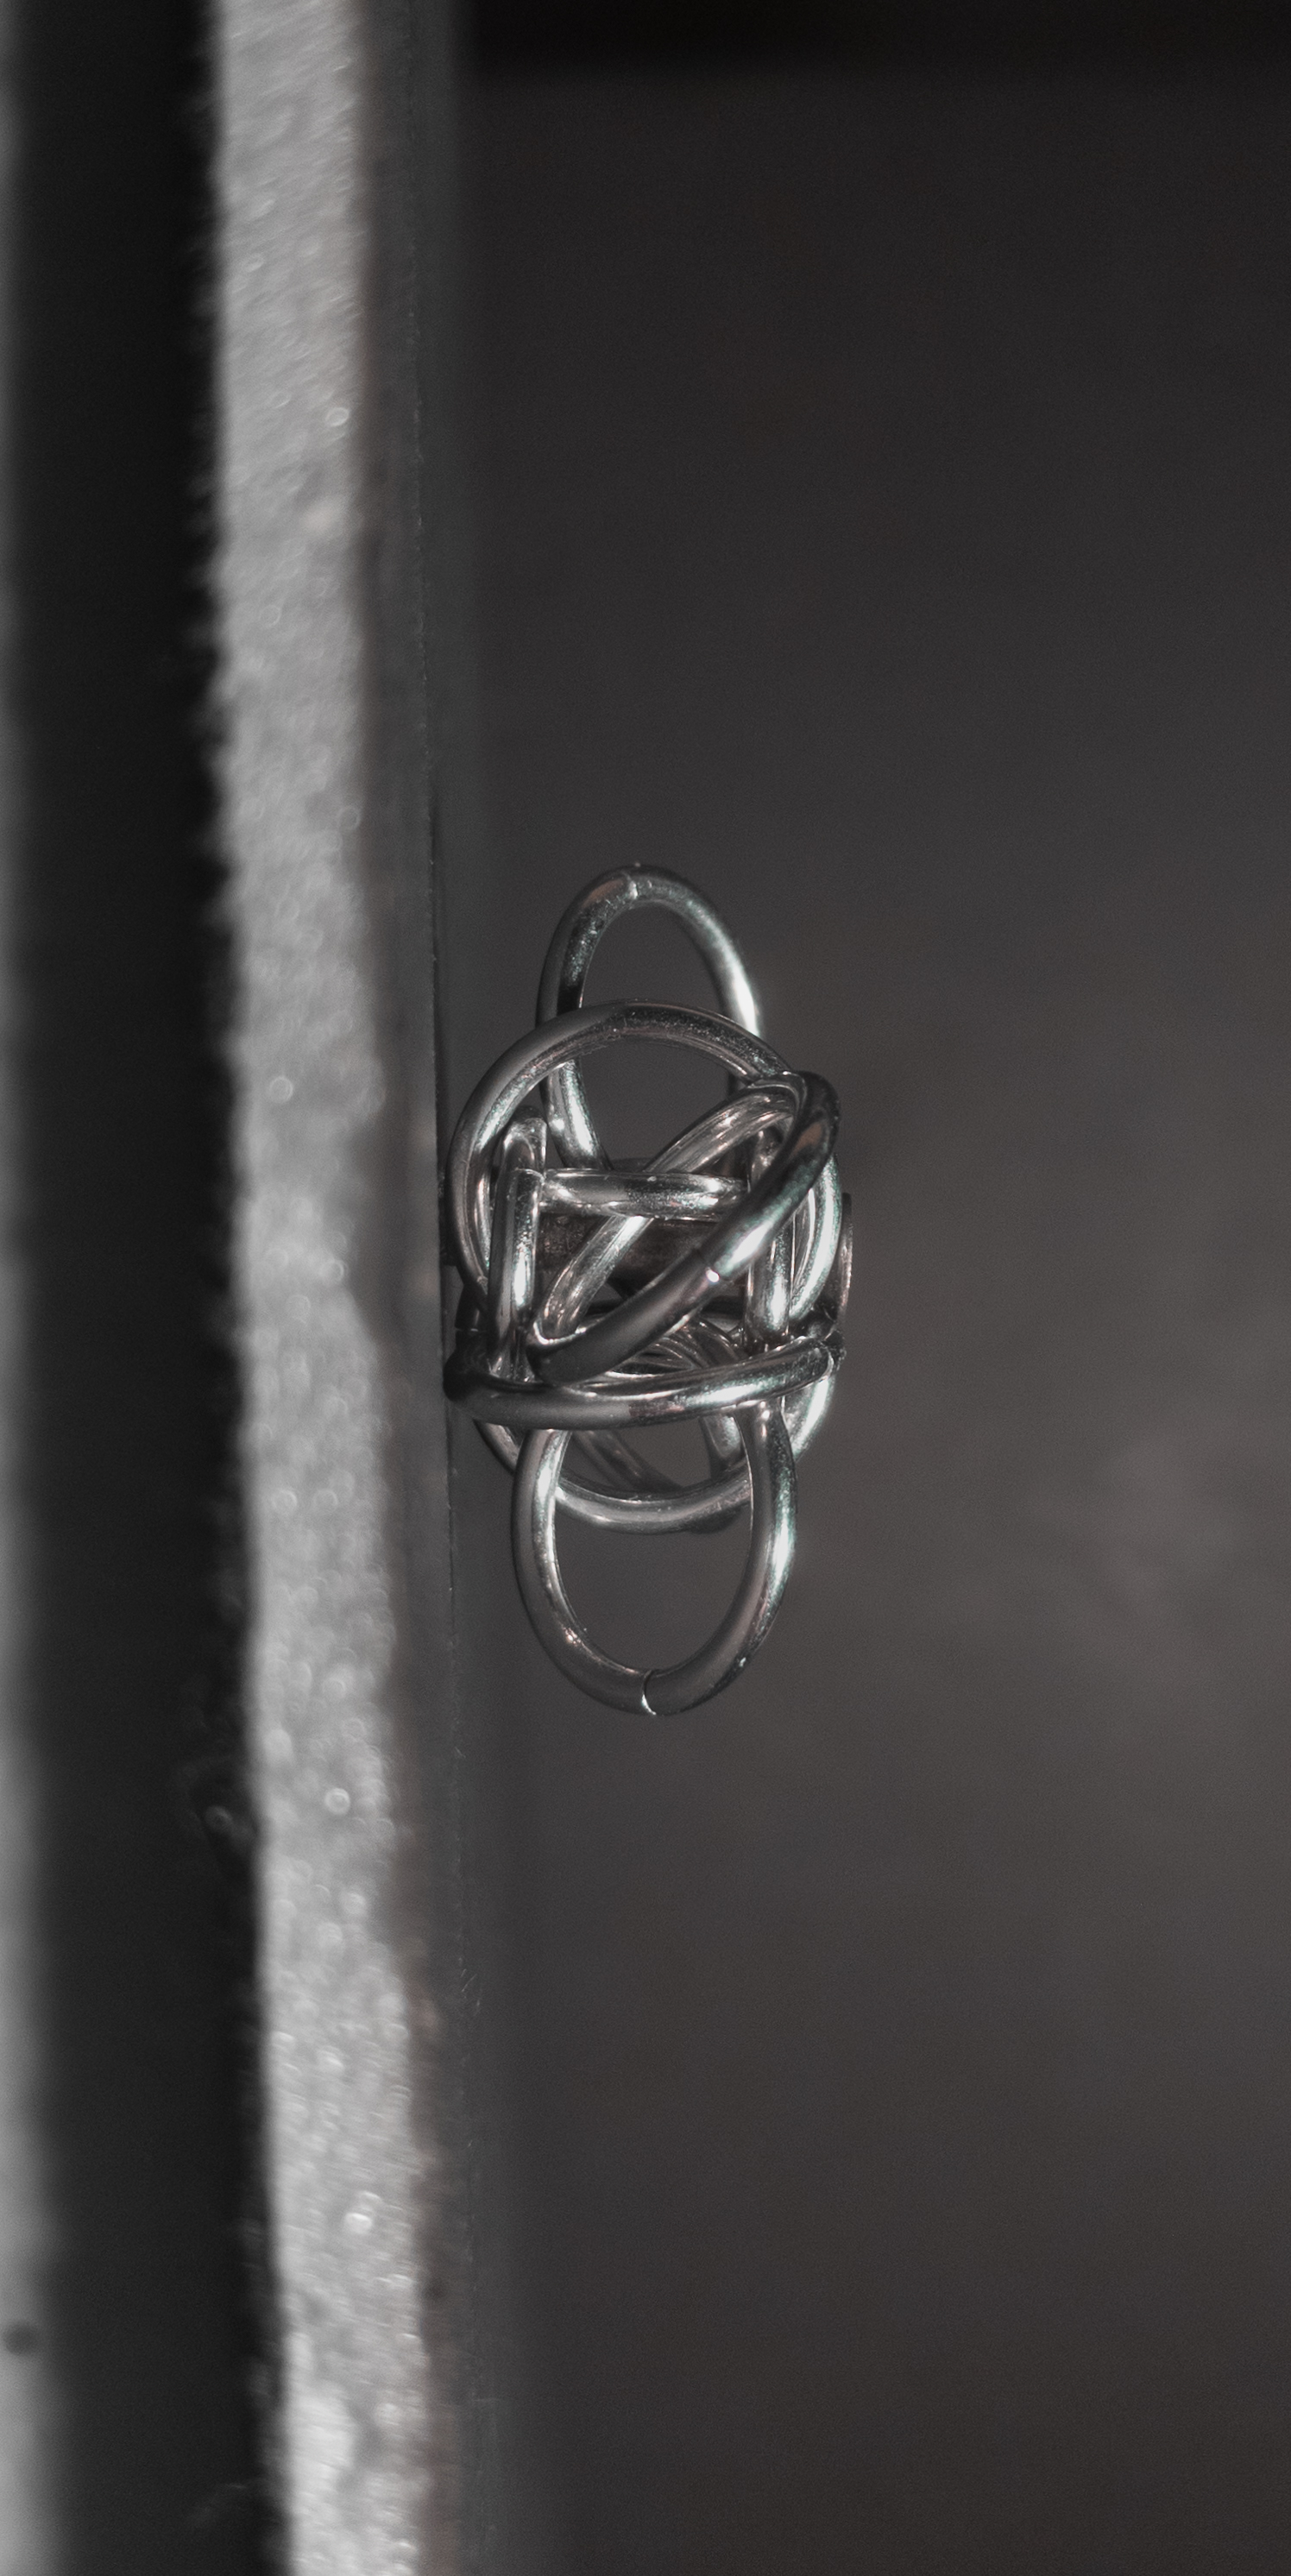
In Process

